Thursday, July 7, 2011

Sort Of Healthy Cupcakes


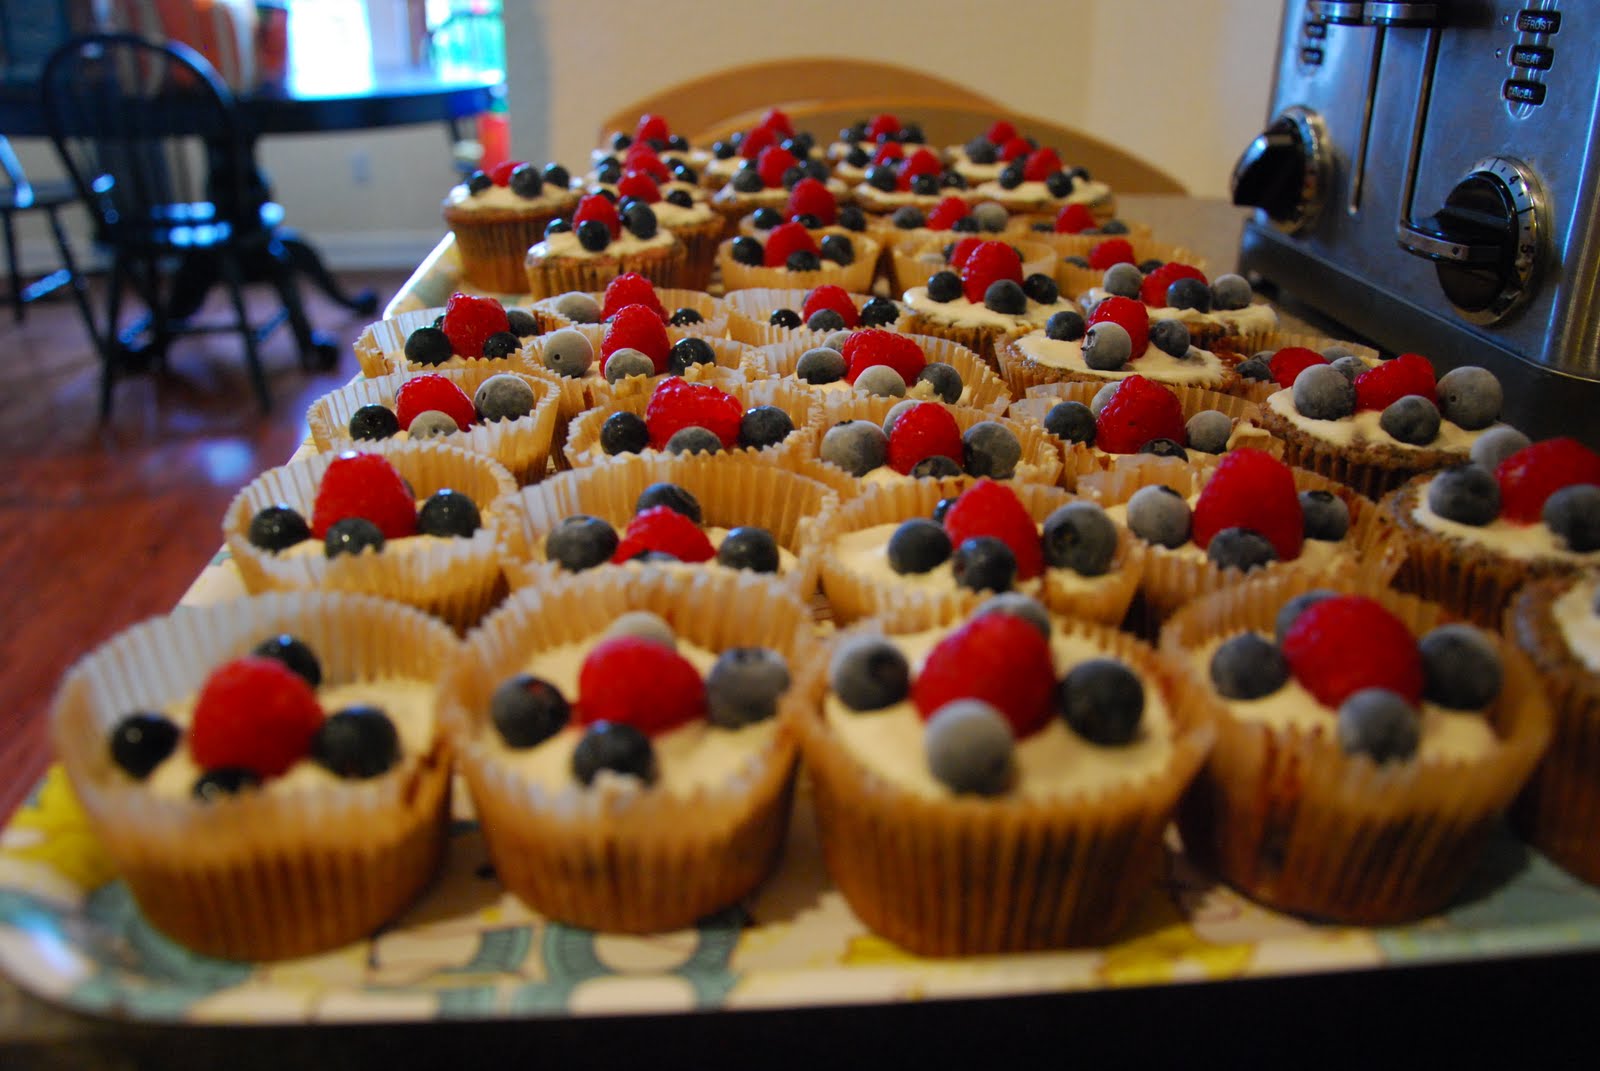
These are the cupcakes I made for a July 4th party we went to.  I was trying to make a patriotic version of a rainbow cake, but without using food coloring.  They didn't turn out the way I envisioned, but they were so tasty!

Everyone raved about how moist they were and my husband devoured them!  Well, truth be told, so did I!  I didn't let poor Penelope have any, but she learned the word cupcake.  I know its only a matter of time before I wont be able to control her sugar consumption, so I am going to hold out as long as possible.

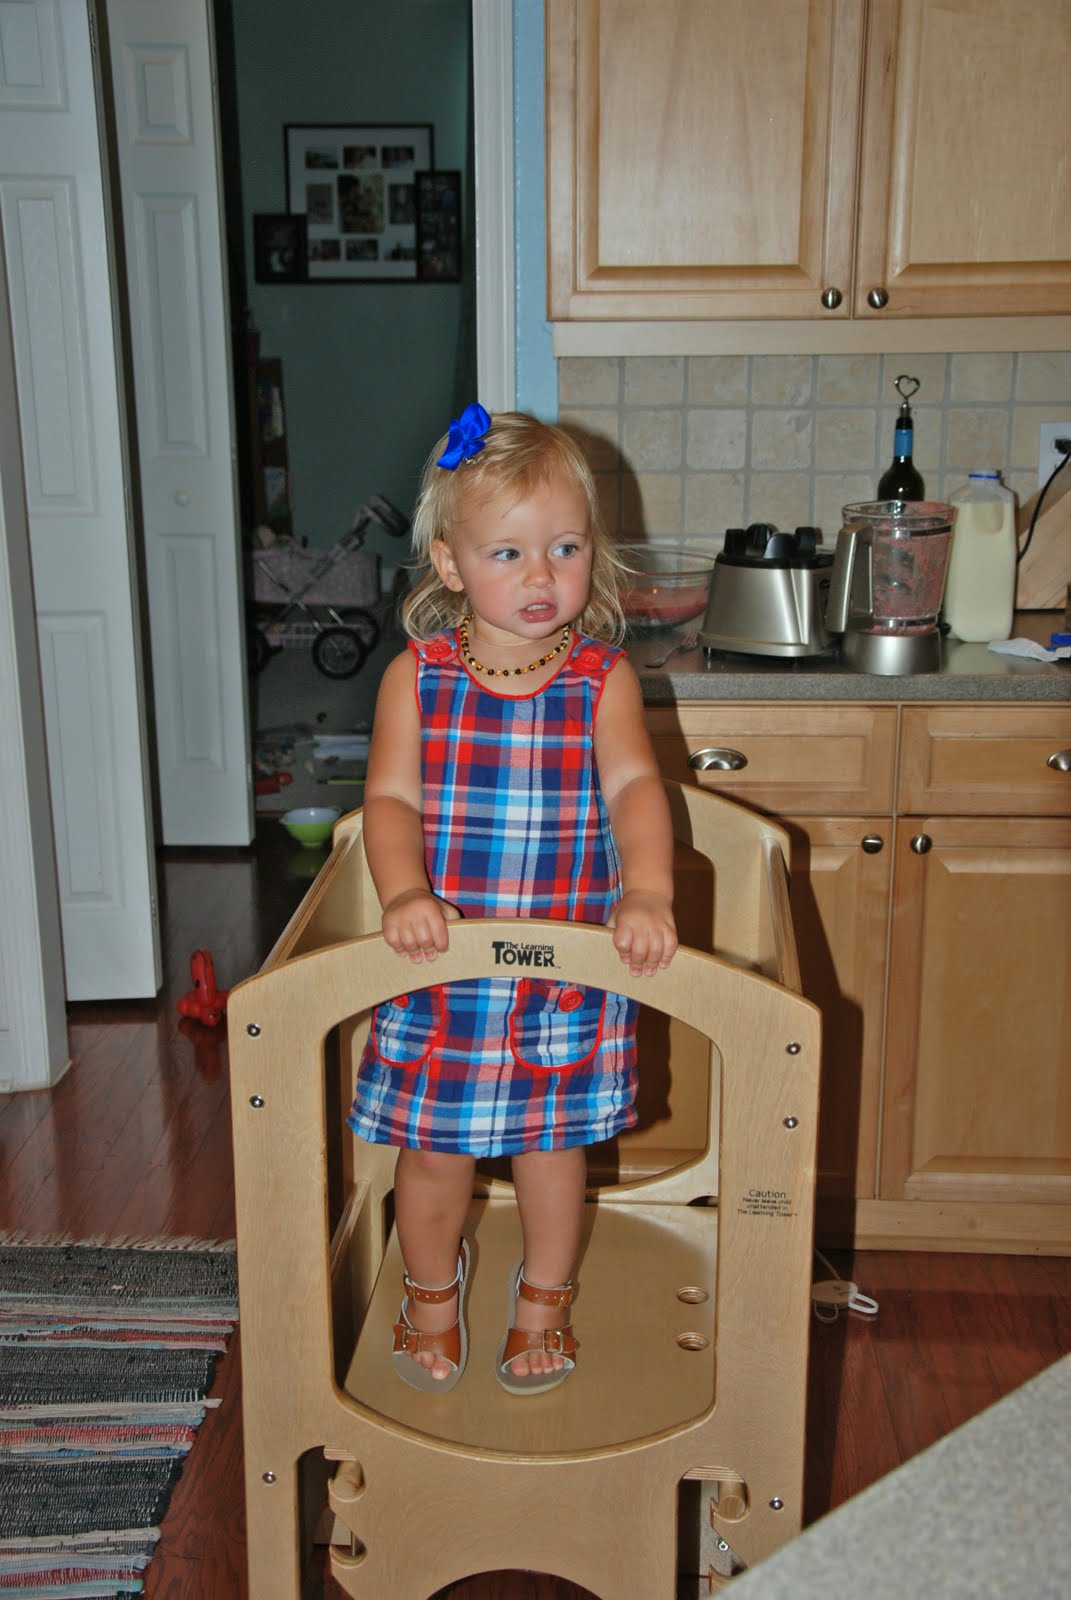
First, get your cutie set up in the Learning Tower.  I had intentions of making her a July 4th dress, but this Mini Boden dress she had was perfect, so I will save the fabric for next year.

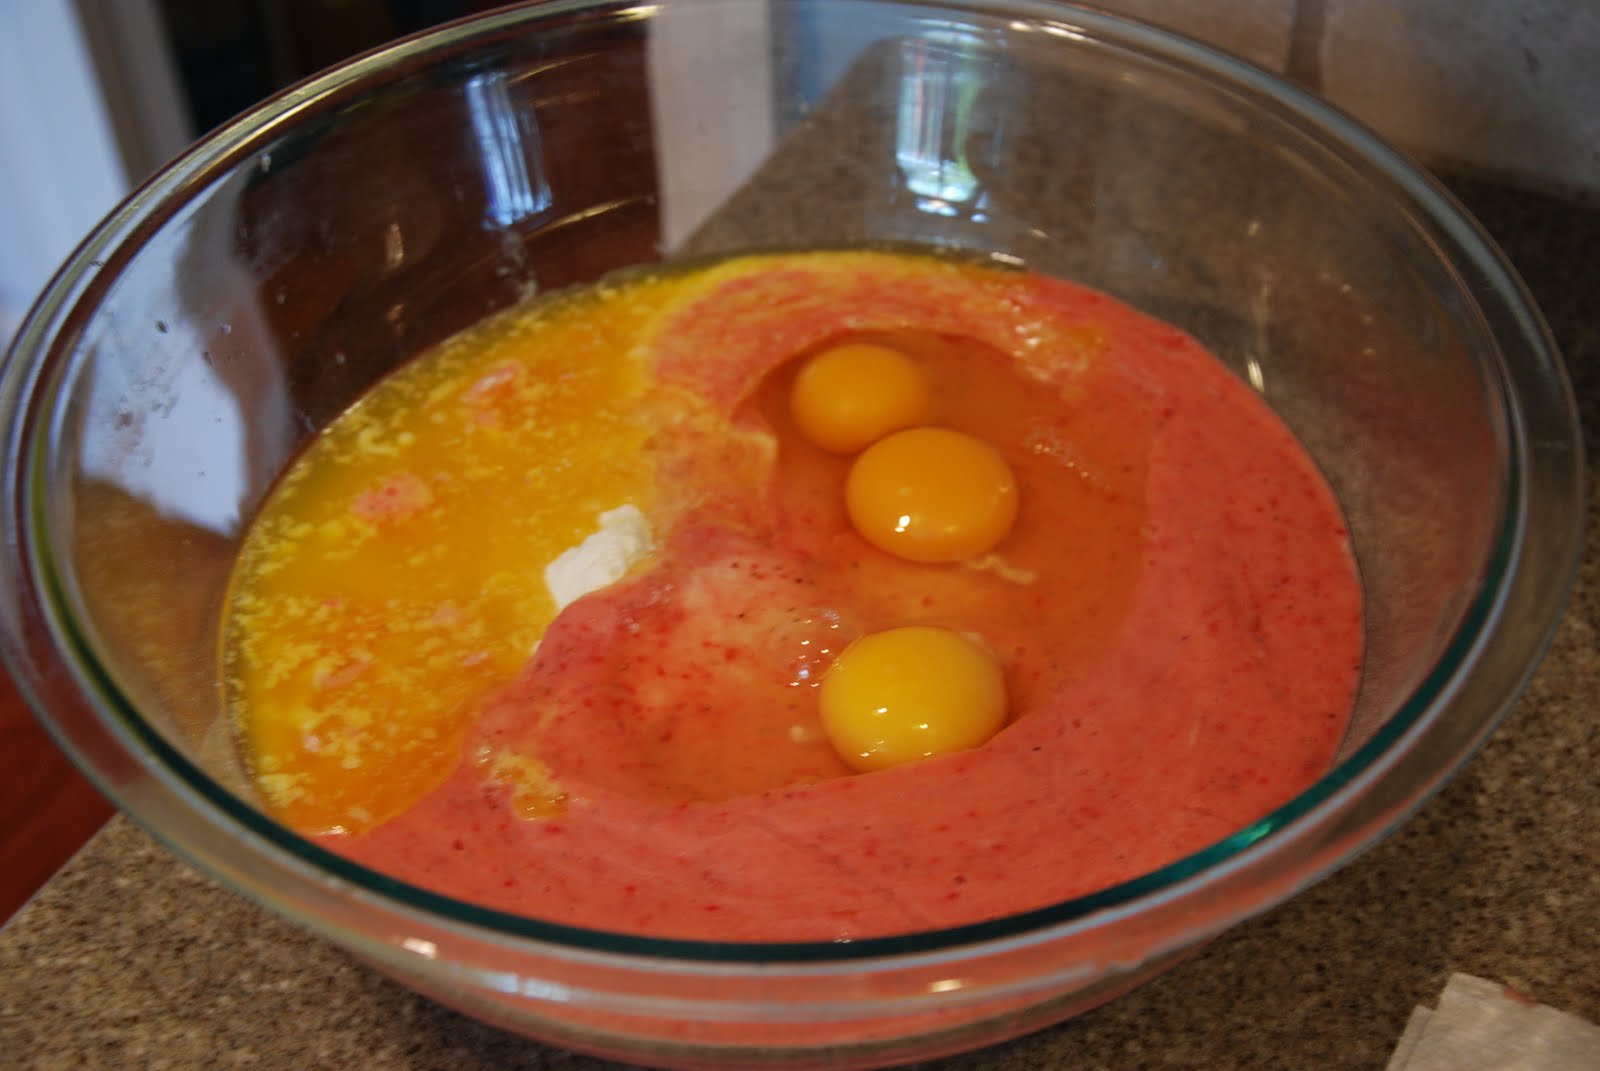
 Now, for the secret ingredients!  I used pureed blueberries in one batch and pureed strawberries in the other, just like I did when making Penelope's first birthday cake.

I used local blueberries that I picked and froze a few weeks ago.  I bought 10 pounds of blueberries and put them in the freezer.  Penelope actually likes to eat frozen blueberries better than fresh ones! I think it must feel really good on her budding teeth.
I just loved the way the bright color of the fruit looked against the bright orange pastured egg yolk and grass fed butter.  The cake mix was organic and I used raw milk. So these cupcakes, could have been much healthier by using sprouted flour and some sort of natural sweetener, but these are still a million times better than crap you buy at Publix.
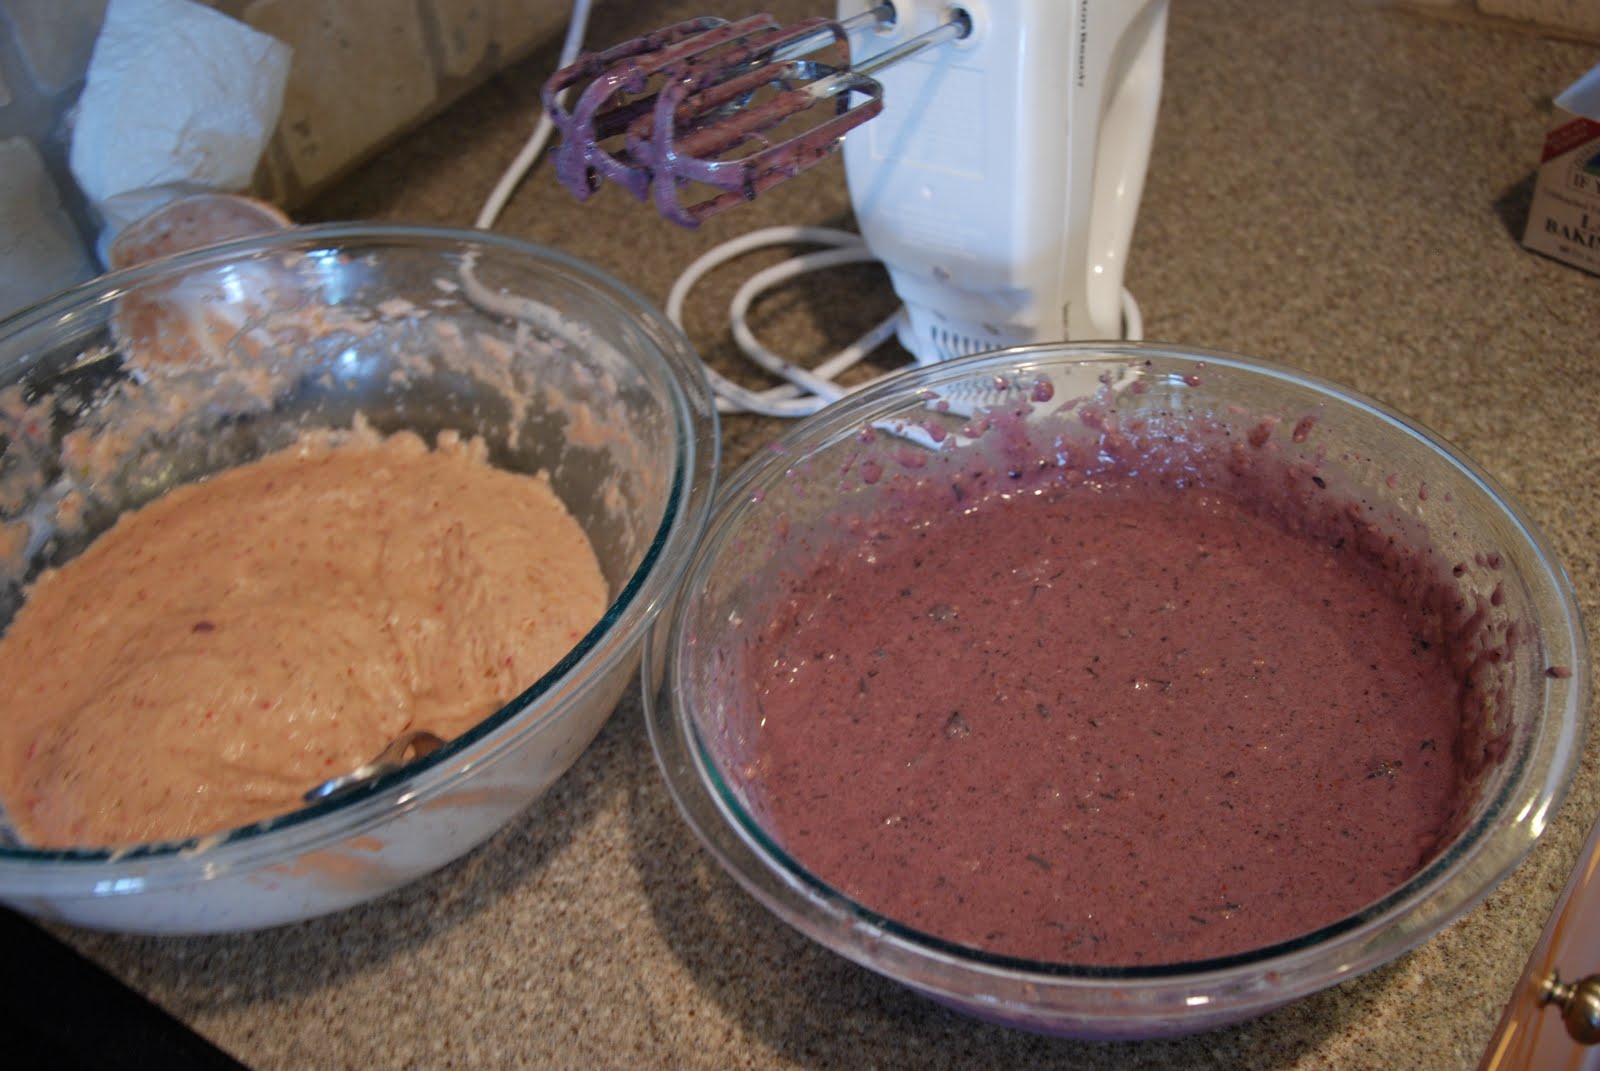
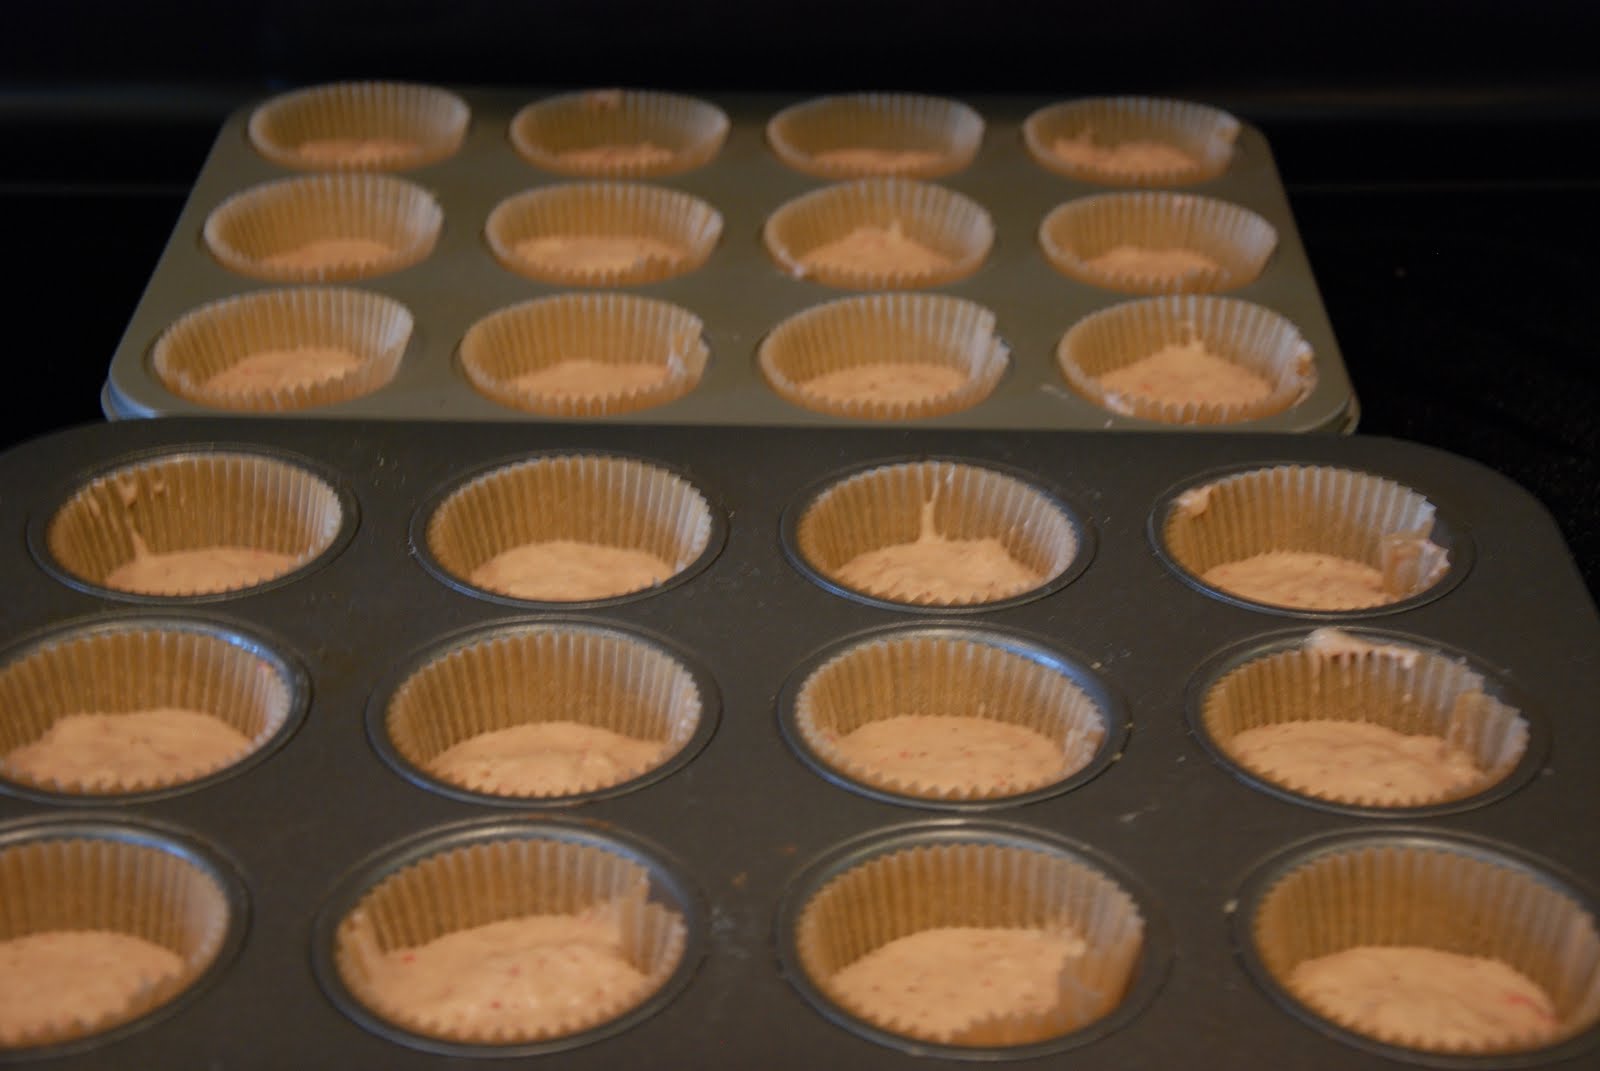
The strawberry batch and the blueberry batch.  The strawberries turned the batter pink not red, I somehow forgot that and then the blueberries turned the other batter purple.  Not exactly, red white and blue, but like I said, tasty!!

For the first round, I did strawberry, blueberry, strawberry, trying to get a gradual linear stacking, a la ombre, of the colors.
The second round I just did what. ever.
Because this is what the inside looked like no matter what.  It was actually pretty cool looking, like a tye-dye art project.
Lastly, I put raspberries and blueberries on top to get the festive colors.  I was hoping to print out and make these cupcake toppers, but never got around to it.  Maybe next year!

P.S. These are the cupcake liners I used:


Wednesday, July 6, 2011

Mama Yoga: Legs Up the Wall Pose

After child's pose, this is probably my most favorite yoga pose of. all. time.  Can you see a theme with my style of yoga?  I like my yoga to very restorative (read: lazy and easy).

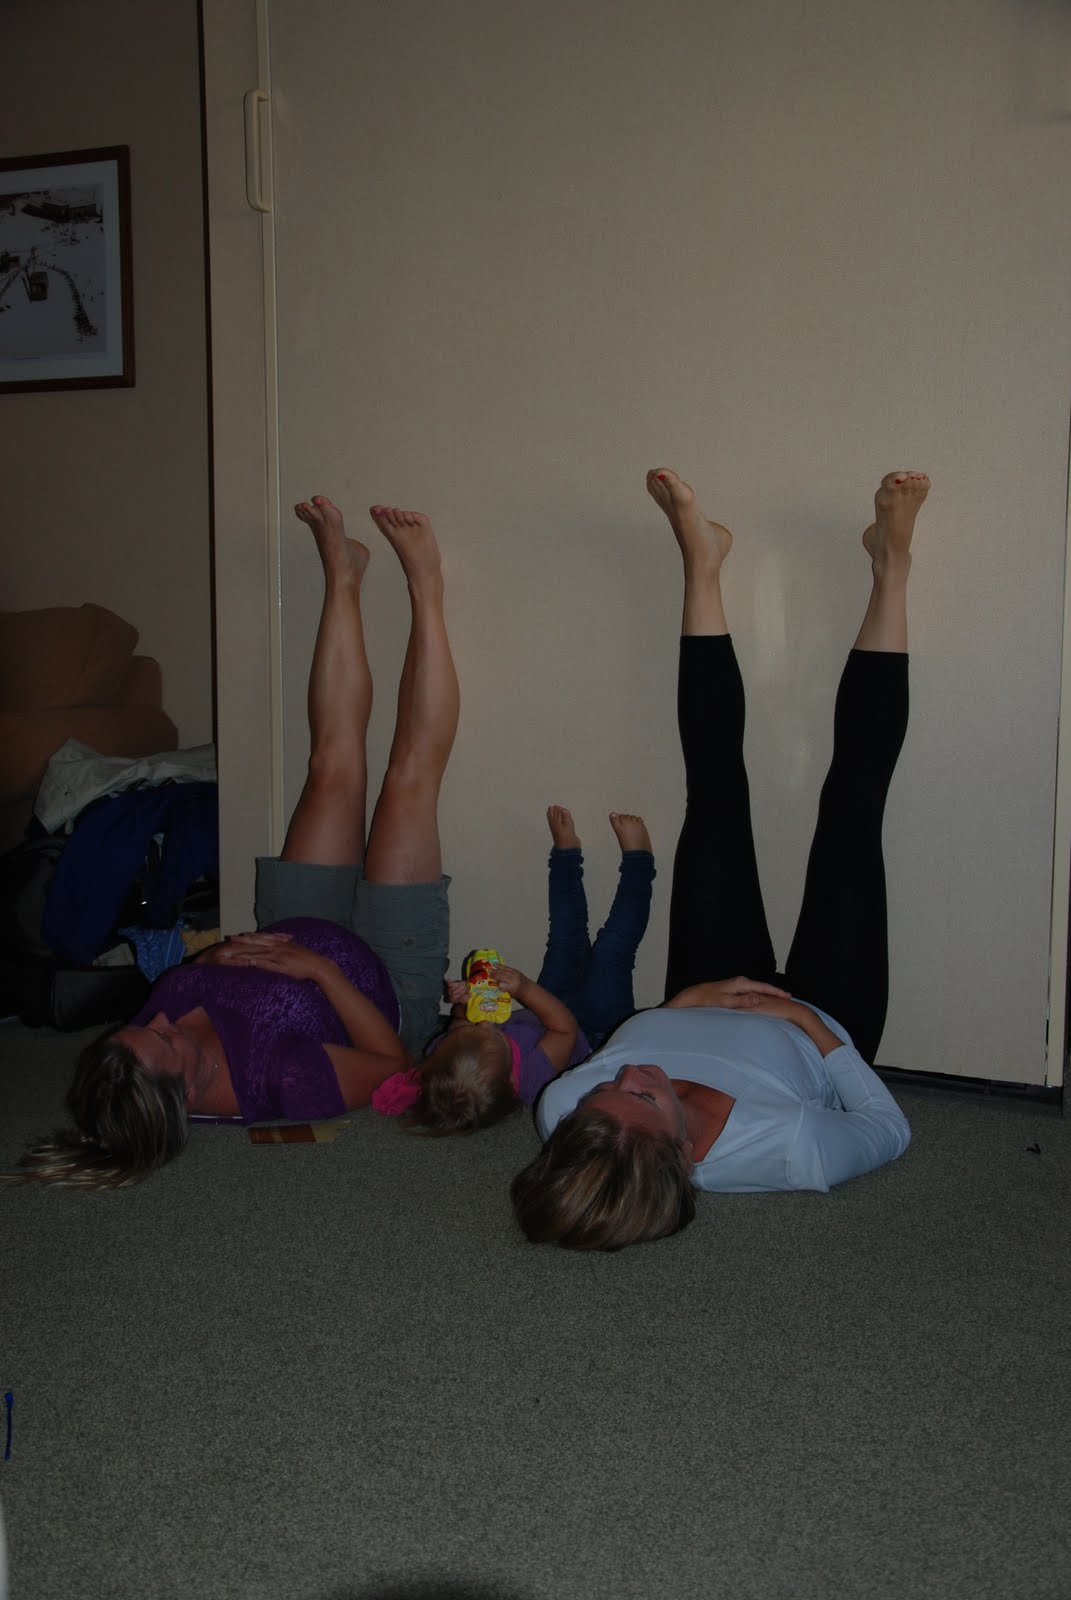
I love this picture so much!  I had my husband snap this picture while we were in our room at Mammoth Mountain during our recent California trip.  Not that I was tired from snowboarding, since I didn't get to go, being on baby duty 24/7 and all.  I figured I have the rest of my life to snowboard, but Penelope will only be a baby once.  Riding in the gondola with her was fun enough.

In the picture, with me and Penelope, is my sweet friend Stacey, or as Penelope calls her EeCee.  Penelope really liked EeCee.  She is about 31 weeks pregnant and she is a real trooper.  Her boy (4 today!) is Wild with a capital W and even after chasing after him all day, she is always game for camping or surfing or whatever.  If I have another baby, I hope I have her energy and her patience.

If you don't have a lot of energy, Legs Up the Wall pose, is a great all around pose for everyone.  If you only do one yoga pose a day, or a week for that matter, do this one.  Doing this pose for 5 minutes is like taking a 25 minute nap.  It literally gives your body a break.

I first learned about this pose as a girl during a dance show. Actually, it was a video we were shooting for somebody, and we were about 12 years old.  The taping was taking all day long, and it was verging on child abuse, so our dance teacher/den mother gave us a break and lined us all up in a vacant room and told us to stay there with our legs up the wall for 20 minutes and we couldn't move.  Lo and behold, after 20 minutes we were all rearing to go.

Which makes me think, if you could get a toddler to do this for a few minutes, it would be a great thing to do when they need a nap, but are refusing to go down.

If you are pregnant, one of the reasons you get so tired is because your heart is working double time. It is exhausting for your body simply pumping blood back to your heart from your extremities.  Putting your legs up, lets gravity do the work for your body. 

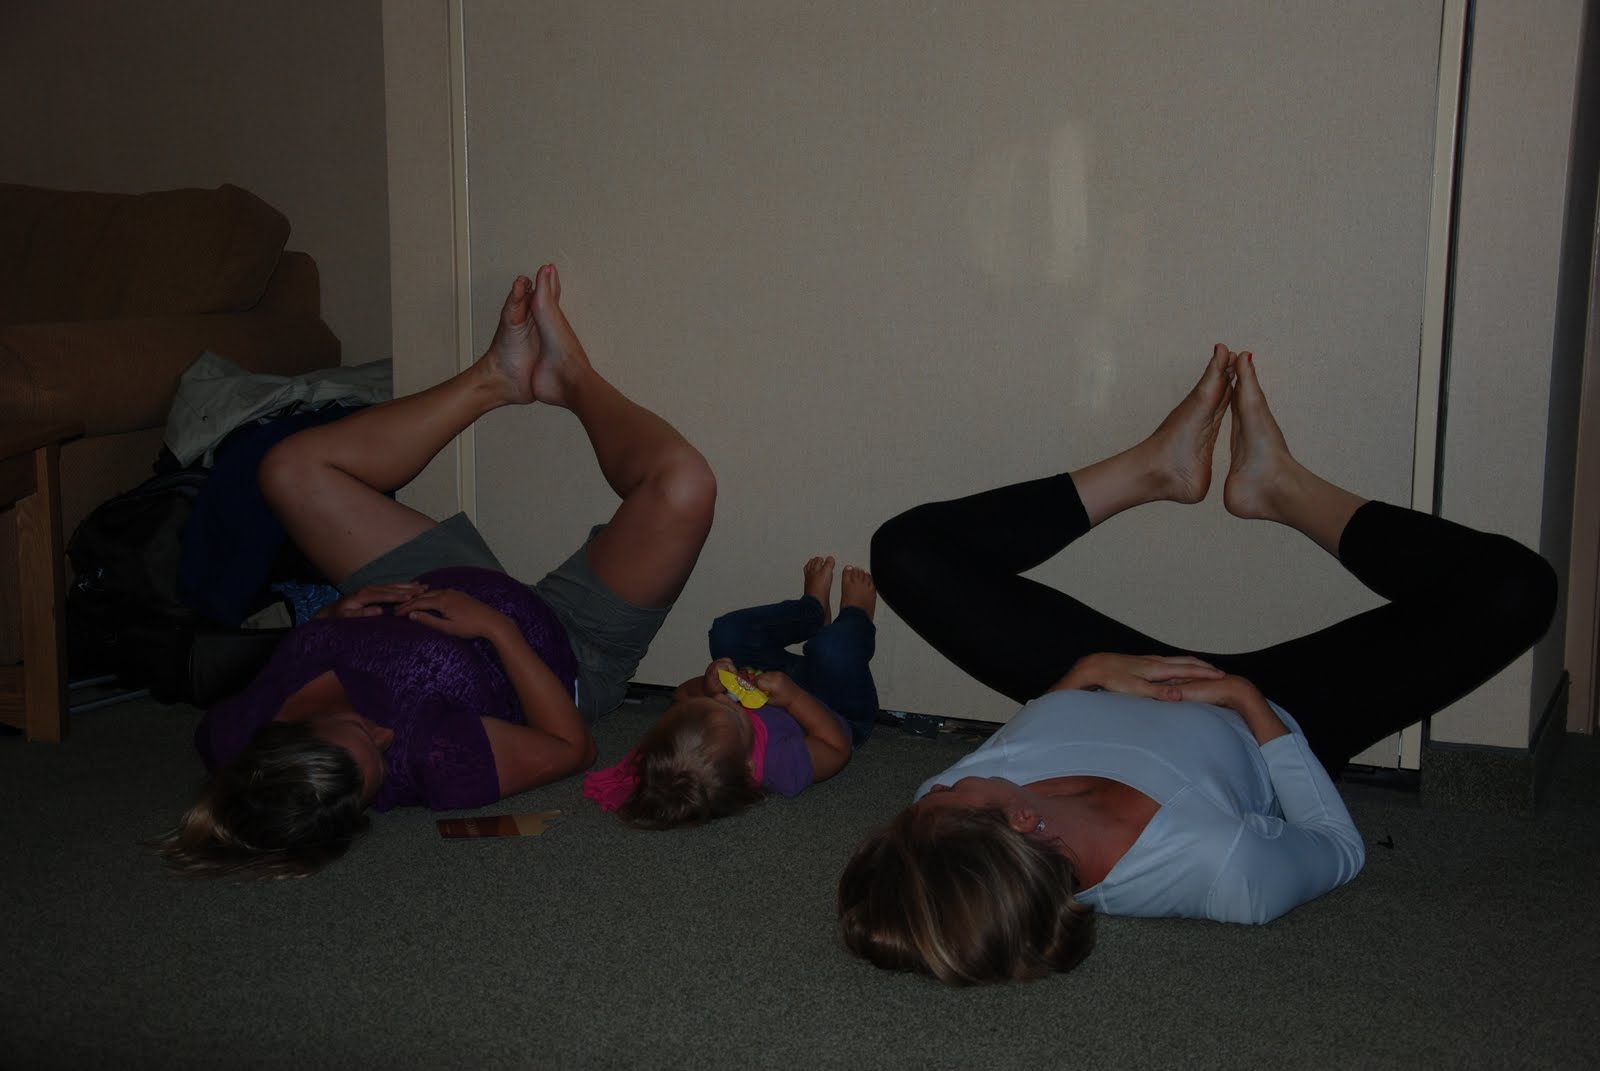
If you get tired of having your legs up, you can do what we are doing in the picture above, for a modification.  It's basically Reclined Bound Angle pose with your legs up on the wall.

Also, if you are pregnant, you can put a rolled up towel or blanket under your right hip if you are worried about laying on your back for a little bit.  But remember, you will feel dizzy and light headed, long before your baby is getting less oxygen. If you are you doing this pose and you feel fine, then your baby is fine. 


Friday, July 1, 2011

Our Lady of La Leche


Our Lady of La Leche is an amazing little Catholic shrine in St. Augustine, Florida.  I first heard about this place from a dear friend of mine.  She brought me back a necklace and prayer card from her visit.  For a long time I wore the necklace and prayed hard for my sweet Penelope to come to me.

On Mother's Day in 2008, I visited the shrine with Peter.  We both went in and lit candles and prayed, well I prayed and Peter respectfully sat next to me.  I prayed for a healthy baby to come to me.

This is the first shrine dedicated to the Blessed Mother in the United States.  Like me, pilgrims who make their way to this shrine, ask for blessing in motherhood and for healthy children.

The statue at the front, is of Mother Mary nursing baby Jesus, and it is just stunning.

Here is the prayer to Our Lady of La Leche if anyone is interested:

Lovely Lady of La Leche, most loving mother of the Child Jesus, and my mother, listen to my humble prayer. Your motherly heart knows my every wish, my every need. To you only, His spotless Virgin Mother, has your Divine Son given to understand the sentiments which fill my soul. Yours was the sacred privilege of being the Mother of the Savior. Intercede with him now, my loving Mother, that, in accordance with His will, I may become the mother of other children of our heavenly Father. This I ask, O Lady of La Leche, in the Name of your Divine Son, My Lord and Redeemer. Amen.


Monday, June 27, 2011

July 4th Yarn Wreath

I have been talking about a lot of wreaths this year!  I made a Easter one and the other day, I made a July 4th wreath. If I had got it together in time, it could have been a Memorial Day through July 4th wreath.

It was pretty time consuming, considering I like my craft projects to be wham, bam, thank you maam. But it was a very simple and CHEAP project.


First, you wrap yarn around a wreath.  This is the time consuming part.  I did mine in spurts, here and there, and I think if you were able to sit down for awhile and really get in a groove, it would go faster.  Maybe take the opportunity to practice your Breath Awareness.  If you want something quicker, you can do like Tara did on her Spring Wreath and use strips of fabric, or you can also use ribbon.

To start the wrap around process, I simply stapled the yard to the wreath and went to town.
Then cut out squares of felt.  All different sizes.  I went with white and blue, going with the July 4th theme.  After I cut out the squares, I cut out circles.  I free handed the circle, I thought it gave it a nice natural edge and lent it self to looking more flower like in the end.  But you can certainly take a cup or bowl and trace a perfect circle first and then cut it out.

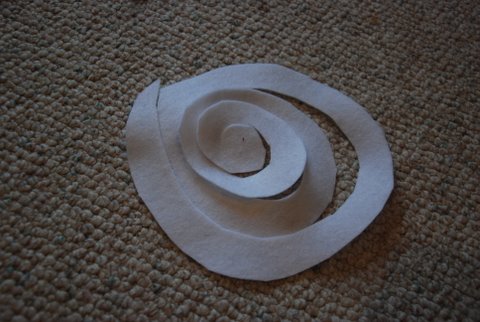
Then you cut each circle into a spiral, starting on the outside and cutting into the center.
Then you simply roll up the spiral of felt to make the flower.  You can hot glue the end piece to the side of the flower to keep in place, or do like I did, and just use a pin to pin it in place.  You can then hot glue them on the wreath, but I chose to use a pin again and put the pin in the center of the flower and pushed it into the wreath.

That way, I can take them off very easily and switch out the blue flowers for green and instantly have a Christmas wreath!
Here is a great link full of different color combinations for some more inspiration.
Hope everyone has a happy and safe 4th!