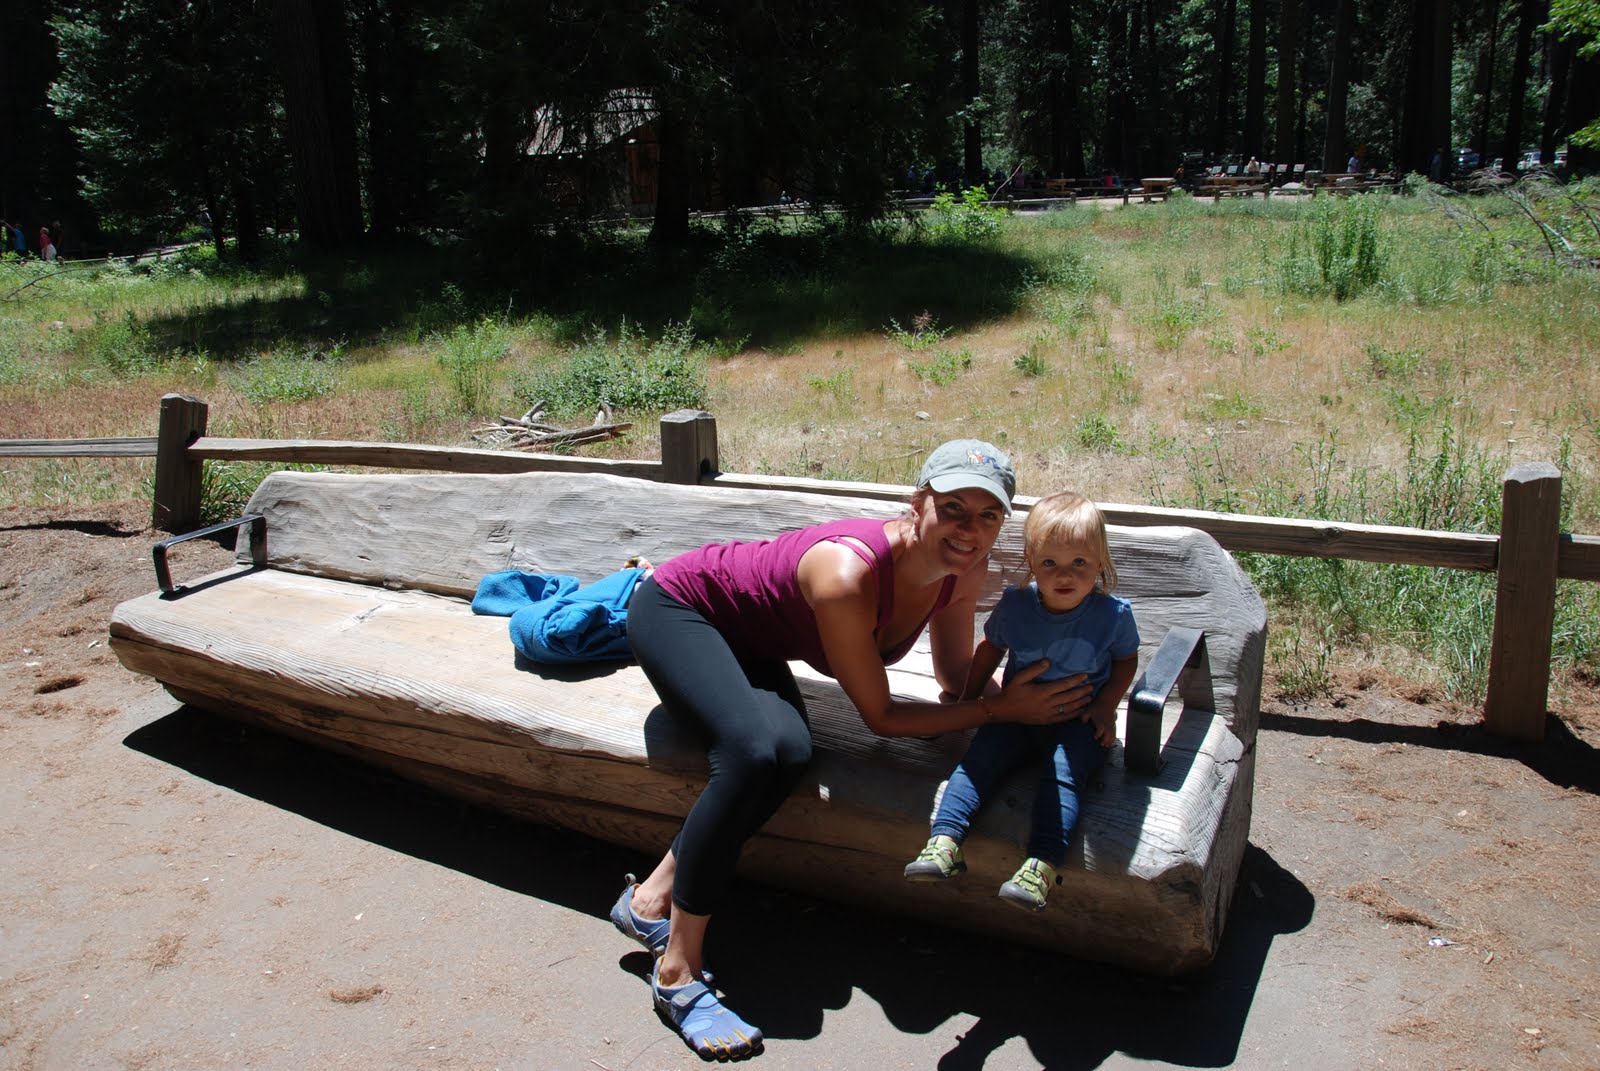
Last week I got back from an awesome trip with my family. It started out a
little hairy with Penelope getting a fever and then Delta canceled all flights on the day we were originally going to leave. But all ended well, with the end result of
one happy family.Before this trip, I was terrified about flying with Penelope. Actually, I was more terrified about flying and pumping. If I had flown before I was done pumping, I would have had to pump in dirty, public bathrooms, lug around the pump and a cooler full of milk. I was worried about TSA touching the milk or worse pouring it out and being treating me like a terrorist like
this mom was. I was also worried about the TSA touching Penelope for a
pat down. Thankfully, no body ever laid a hand on her.
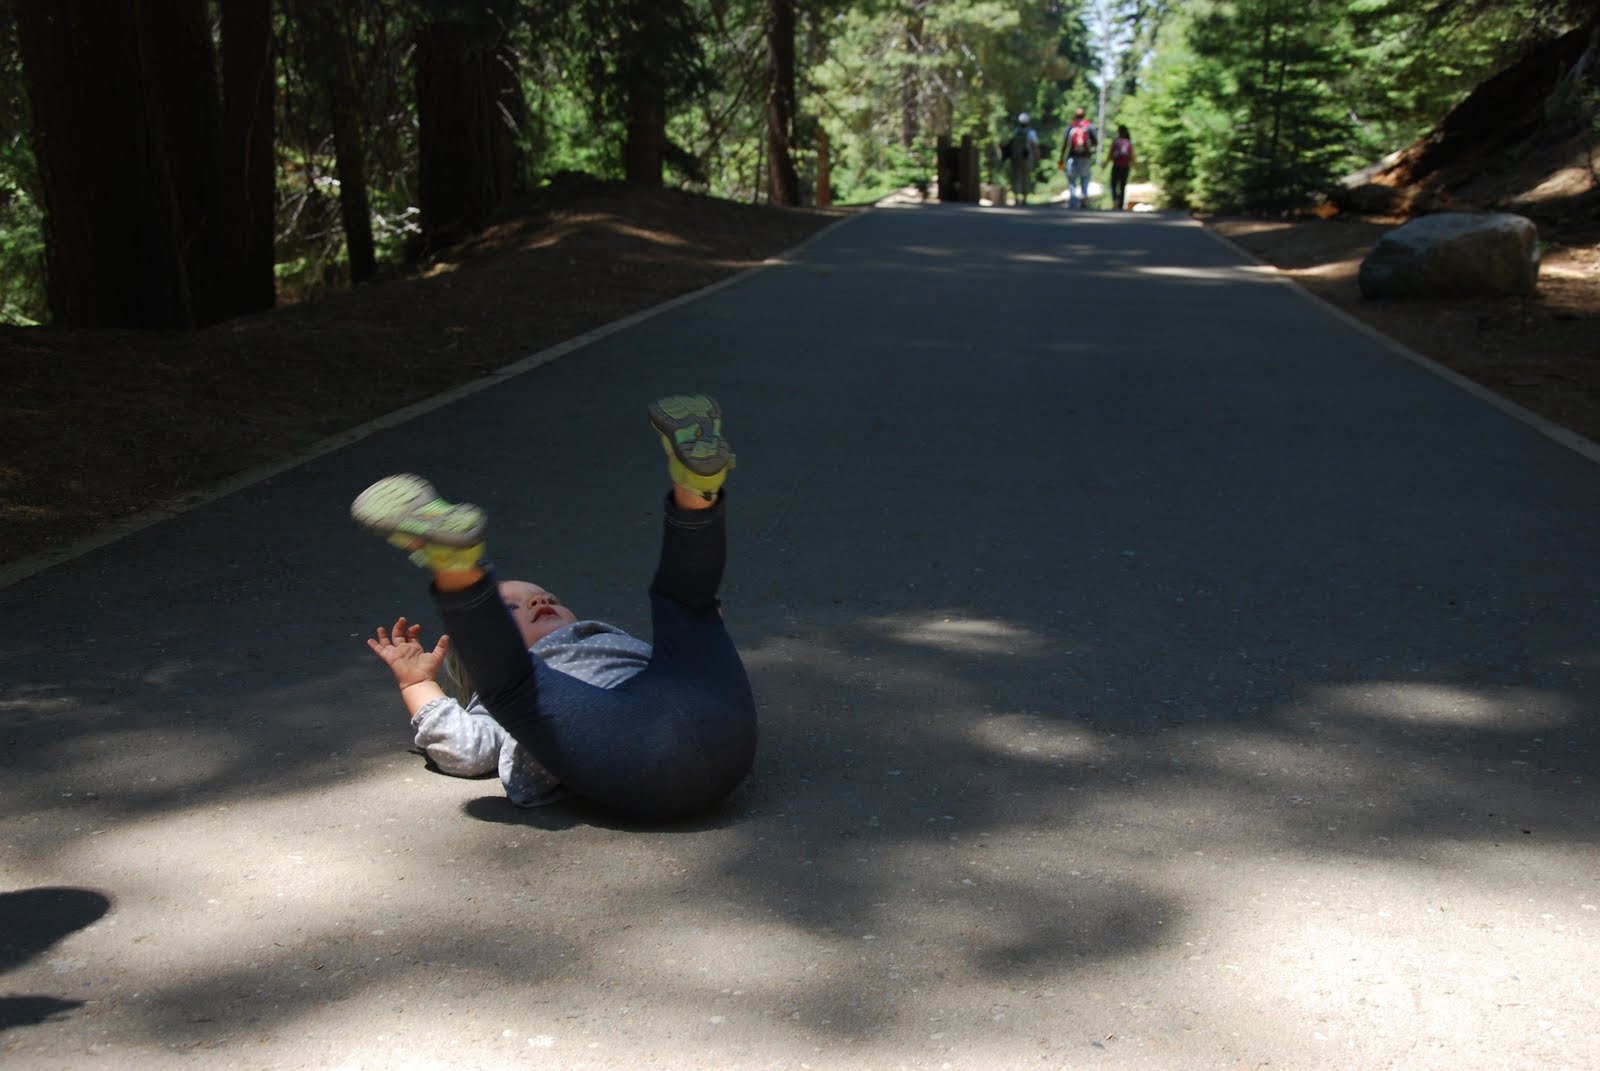
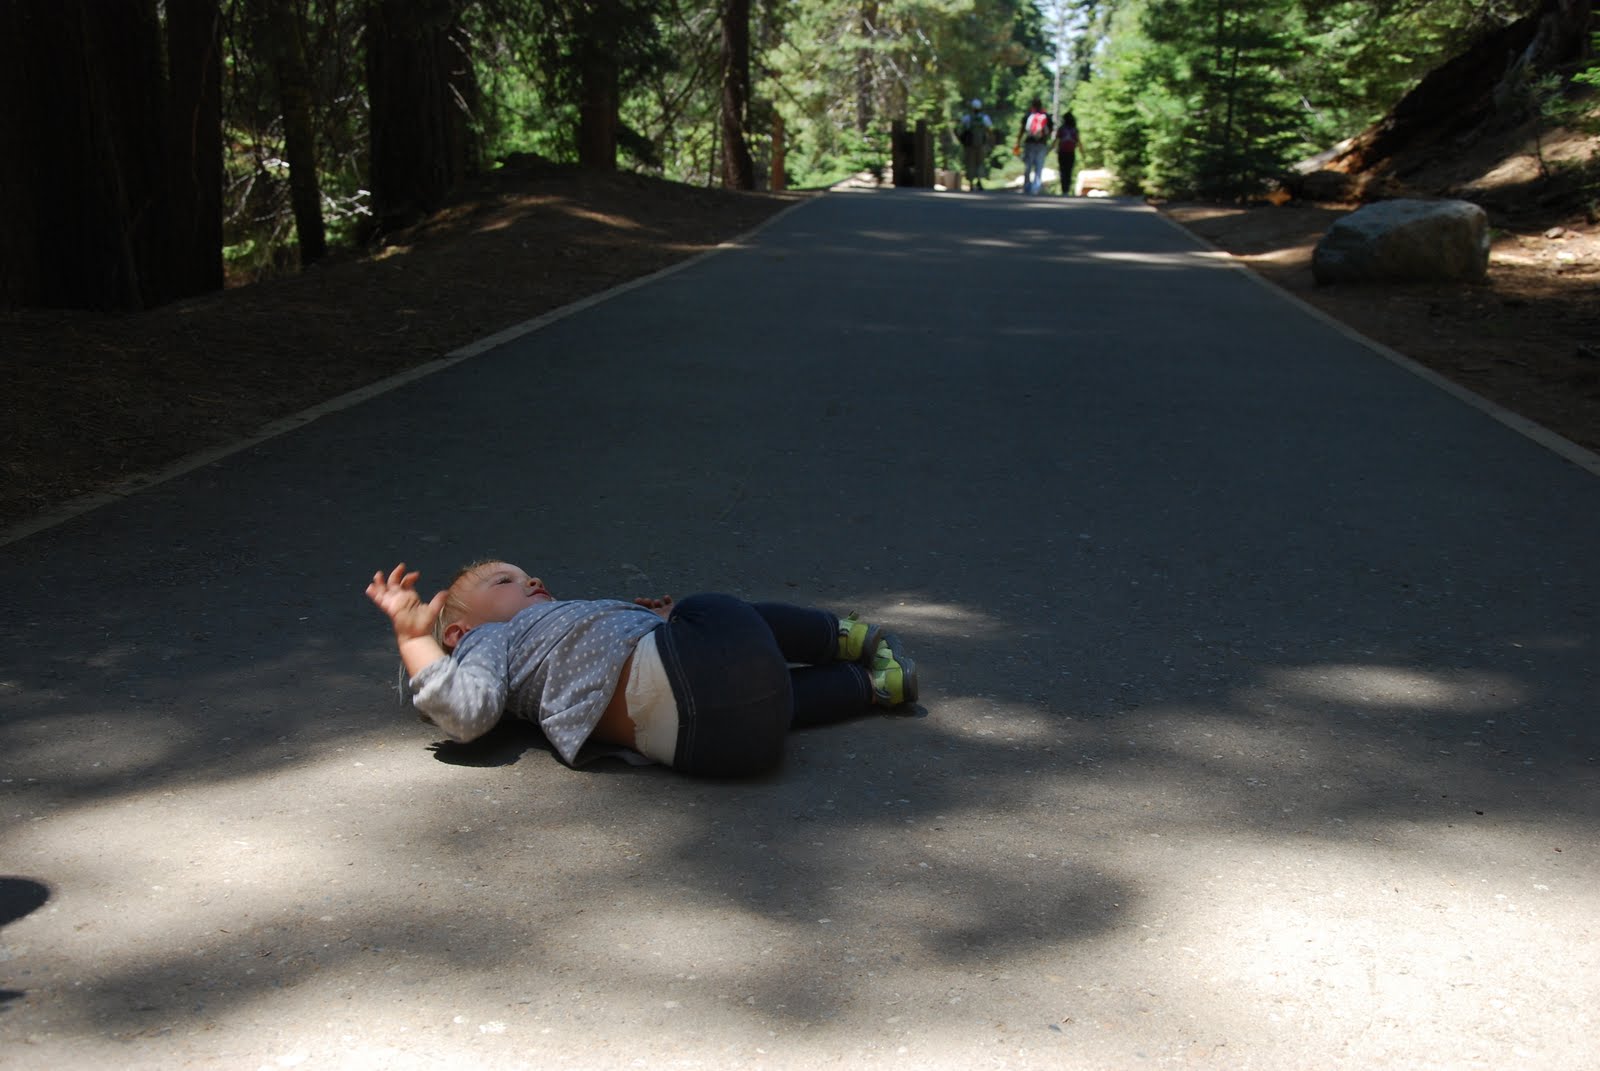
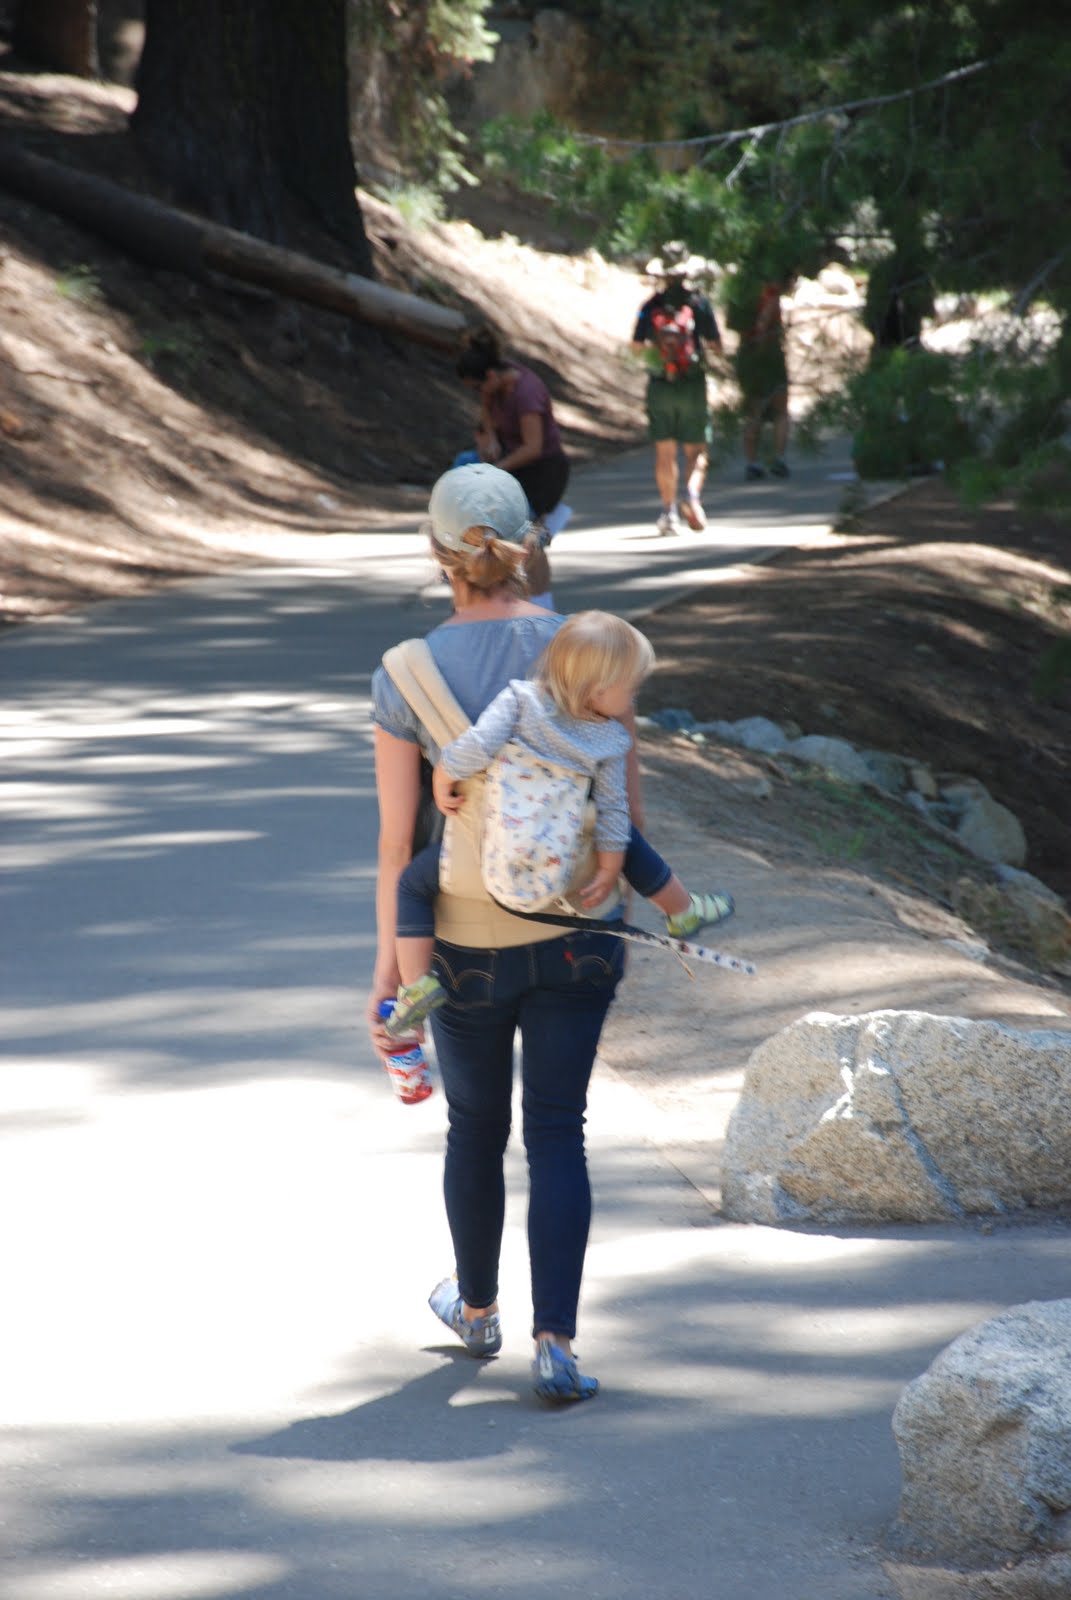
But even without the added craziness that is exclusive pumping, I was still very nervous to fly with Penelope. She is what I like to call a wild child. You know the ones. Highly spirited and energetic. Not so keen on listening. She likes to do exactly what she wants to do, at exactly the time she wants to do it. She doesn't want anyone to help her or hold her hand, she is off like a rocket to explore. I can't blame her much, the apple does not fall far from the tree.
Surprisingly, things went really well for us. I never once felt overly stressed, I mean there were some tough moments, don't get me wrong, like on our 6 hour drive to Mammoth Mountain. She cried for 45 minutes, even with me leaning over her car seat to nurse her. Maybe it was because I was just so damn grateful to be traveling somewhere, but either way, these are things I did to prepare and things I did to help keep Penelope happy.
First, I checked out LOTS of blog posts to get some advice. There were my favorites:
A Cup of Jo- Tips for flying with toddlers and babies.
Rhythm of the Home- Tips for flying with toddlers and babies.
Mamapedia- An article about how traveling and doing new things, meeting new people can be really over stimulating, especially for sensitive children.
Travel Mamas- Just an all around cool site for traveling with kids.
Baby Center - This one has a few good tips in their packing list. I like the bring a clip on reading light so you can read if you child has fallen asleep on the plane. And bringing outlet covers for the hotel or house you will be staying at. Luckily for us, we were visiting friends who have a 4 year old, so the house was child proofed and filled with toys!
I also asked everyone in our lovely
Facebook community for tips. I really liked the tip about boarding the plane LAST.
After all that research and my personal experience, here are my tips for traveling with babies and toddlers.
BUY AN IPAD. Seriously. If you have been considering if for a long time, like we have, just go for it. Just go and buy it. We have a DVD player and thank God for it, because seriously, I do not know what I would have done with out it, but an IPAD is slim and light, no fumbling around for DVDs and then scratching, said DVDs. You can put games and other things on it, other than cartoons, so it is multifunctioning. When your kid is asleep (hahaha), you can use to read or whatever. I realize this is not the ideal for everyone, due to money and parenting phiolospohy about toddlers watching cartoons, but if you can afford it and don't mind your tot watching a little TV, then is the way to go. Trust me.
BUY A DVD PLAYER. If you can't swing an IPAD, get a DVD player. I let Penelope watch about hour of TV a day on our normal days at home. This started a couple of months ago. I realize that some people don't want their toddler to watch TV till age 2, and follow the AAP guidelines on it, but this is where we are as a family. When we were traveling, she watched more TV on some days and none on others, so it even out.
NEW TOYS. I realize I am making quite the consumptive and materialistic list here, but what can I say, it's what we did. I went out and bought several new toys for Penelope. I wanted her to be suprised and entertained by whatever new toy I pulled out of my bag. And it worked. Anytime she was getting antsy or fussy. I whipped out a new toy. Now, they were not expesive toys. A coloring book, some spinning tops, a travel art easel, etc. I talked to another mom on the plane home, and she wrapped all the new toys, so her daughter had the added fun (and time killed) on opening up the new toy. I liked that idea a lot.
FAMILIAR TOYS. I also packed several of her most favorite books and stuffed animals so she could have the comfort of toys she new. When we couldn't watch a DVD, during take off and landing, we nursed and read books. Which brings me to my next tip.
NURSE. I know not everyone can nurse, so use a paci or a bottle, if you can't nurse. But if you are so lucky to be able to nurse, this is the Magic Wand of travel tips. Anytime, anywhere, the boob helps. Whether to nurse your little one to sleep, calm them down or help with ear pain. The boob works wonders. I also brough organic lollipops with me. I was afraid she wouldn't want to nurse with all the excitement and new things to look at. And since she is weaned from her bottle and she doesn't have a paci, a lollipop was the next best thing she could suck on. I also brought them in case a melt down occured. I gave her one on the last flight, way past her bedtime and she needed something to help get to the finish line. She only ate half of it. Each lollipop has about 5 grams of sugar, not too bad.
So there you have it. My tips for flying and traveling with toddlers. Tell me, what is your best tip?


