Tuesday, May 31, 2011

Felt Flower Headband


These make me squeel they are so sweet and pretty!  I got the headbands in the little girl department at Target, a packet of 4 for $2.99, so they are a little bit big on Penelope, but they fit me too.  I rocked the pink one the other day when I was wearing a pink maxi dress. 

Remember the felt I told ya'll I bought myself for Mother's Day over on our Facebook page (if you haven't joined us, come on over, its always fun!)  It is felt from one of my favorite designers, Heather Bailey.  I went Heather Bailey crazy for Penelope's 1st Birthday party, you can see for yourself here.  It took me forever to get the guts to open up the package they came in because it was so pretty to look at them like this!
Arn't the colors yummy?  Oh, and this felt is BAMBOO!  It is so soft and luxurious and eco-friendly to boot. 

Penelope and I did this project together.    Well, as together as you can, with a wild, 18 month old.  I took down my glass jars of scrap fabric from my craft space and let her "pick" her fabric.  This resulted in her taking out every single piece, throwing them on the ground and then attempting to climb IN the container.

With a little leading from Mama, these were the colors we settled on.  The blue fabric is from the remnants I picked up at the design store in Havana, that I talked about here.  The purple is left over from the very first dress I made her, you can see that here (just don't laugh).

I got the idea of how to make the flower shape from when I made Penelope's tissue paper birthday sign.  The sign is a ton of little tissue paper flowers cut out just like this and smooshed together.

So, you cut out one square, like so.

Then you fold it in half.

Then fold over each side to make a little cone/triangle shape.
 Then you cut off the top and make a rounded/scalloped shape, like so.
When you unfold it, your flower will look like this.  You may have to clean up the shape of your flower, depending on how well you folded and how well you cut.  If you do, it's easy, because you have the basic shape and can just go around the edges with your scissors and make it more crisp and even.
Then layer it up!  I did two flowers in felt and one flower in fabric.  Then I added two circles for the center.  I did the circle free hand as I was cutting, and I like that it was imperfect and obvious it was handmade, but you could certainly get a button and trace a perfect circle and then cut if you want.
Here is the pink one.   After you find your right layer choice, just hot glue together and then hot glue the flower to the headband.
 My beautiful model baby.

I hardly used any of my precious bamboo felt for this project but the results are BIG!  I see lots of fabric felt flowers making in my future.  For some reason, Penelope will wear a headband for a longer period than a regular hair bow.

What do you think?  Cute for baby girl to wear but is Mamas wearing hair bows a fashion crime?

Thursday, May 26, 2011

Gluten Free, Grain-Free Chicken Nuggets


As long as you are using good quality ingredients (organic grass fed butter, humanely treated chickens, etc), I think chicken nuggets are damn good and healthy meal.

You can use bread crumbs if you want, but if you are finding out that you have a hard time digesting grains, even ones that are sprouted and soaked, this modified recipe is for you!

As you know, my week of no-sugar and no gluten was a big eye opener for me. Once I introduced gluten and sugar back in, I realized how horrible they both make me feel.

Now, I am on a mission to eat gluten-free as much as I can, eventually, I would like to be grain free for at least a period of healing as well.

So here's my recipe:

2.5 pounds of chicken breast meat (I bought chicken strips to save time on cutting the meat up)
1 cup of finely grated Parmesan cheese
1 cup of almond flour
Salt, Pepper, Thyme, Basil, to taste
1/2 cup butter

Mix the dry ingredients together in one bowl.  It gets really gunked up, so I like to put half in one bowl and half in another, so the crumbs stay crumbly longer.


Then melt the butter.


Dip the raw chicken meat in the butter, then the dry mixture, and place on cookie sheet.

Then put in the oven, at 375, for at least 20 minutes. Every oven is different, so keep your eye on them. Take them out when they are golden brown.  These freeze great, so when you take them out frozen, just heat them at 375, till they are warm.


Don't pay attention to how ghetto my cookie sheets are.  New ones have been on my wish list for awhile.  I realize in hindsight, why people have big weddings!!

Also, a side note about cookie sheets and non-stick pans, they have chemicals in them that leach into your food.  I use a cast iron or stainless steel to cook with when I use pots and pans, but my sheets are crap.  You can line them with parchment paper if you don't have stainless steal sheets.  But I always forget.  Got get better about that.

Enjoy! Both Peter and Penelope devoured these!  This is what your family plates will look like if you make these nuggets! And if you have kids, you know how much they love chicken nuggets.

Now, you have a recipe that you can 100% feel great about feeding them instead!


And check out Miss P.  She is a big girl now, no more high chair.  We were given this hand me down booster seat last week.  She LOVES being able to eat off the table like us.  She will actually sit in her seat now and eat (before she would stand up and do yoga, while eating).  Amazing.


Monday, May 23, 2011

How I Quit Sugar

For five days anyway.

Well, five days may not seem like a lot, but to me it was.  I have never gone more than a few hours without sugar (in any form) since I was 12 months old.  Maybe sooner, who knows when my parents starting giving me processed apple juice (aka SUGAR.)

Let me just start by saying, that sugar is bad.  Really bad.  I could write a whole book on the topic, in fact, many people already have.  Suffice it to say, sugar is at the root of all sorts of issues from high blood pressure, diabetes and even cancer (cancer tumors feed off sugar).

It messes with your digestion system, and if your digestion is bad, your health is bad. Period.

Seriously, I can't even begin to go into how horrible sugar is for you.  So just do me a favor and go read these books:  Nourishing Traditions and The Diet Cure.

The Diet Cure is an amazing book.  It's wonderfully written and makes it easy to comprehend the complexities of the human body, how it works and how what you eat (nutrition) affects every thing in your body.

I first read the book when I was focusing on quitting my caffeine addiction.  With the help of some amino acids, as recommended in the book, I have been caffeine free for almost 6 months.

Sugar was next on my list!

I knew I may have had a slight yeast overgrowth in my body, and that part of my powerful addiction to sugar, was from the yeast yelling at me to feed it more sugar, but what I didn't realize, until after reading The Diet Cure, is that I very may well be ALLERGIC to sugar as well!!

By end of day 2, I felt like I was going to die.  Like I had the worst kind of flu.  I am not sure if was drug (sugar is a legal drug people) withdrawal effects or if I was feeling the yeast die-off effects.  I was feeling much better by day 3.  By day 4 I felt great!

Typically, they say that you shouldn't do a detox while you are breastfeeding.  But from what research I did, I felt like a yeast detox is not the same as a heavy metal detox and would be ok.  And plus, I figured if I have yeast overgrowth, she does too from drinking my sugary, yeasty milk (sigh).

Here are the supplements I took to help fight off the yeast in my body:

  • garlic
  • oregano oil
  • grapeseed extract
  • licorice root (there is some controversy about this herb and whether or not it is ok to take while breastfeeding.  I went ahead with it and listened to my gut, because I felt my body could handle the hormonal fluctuations and I felt like it was really important to kill the yeast in my body now, before I get pregnant again and I can't take this herb then.) 
  • Solarary (my preferred brand for all supplements and vitamins) actual makes a pill that combines all of the above, so I just took one pill three times a day to get all those herbs in me.
  • additional doses of reuteri probiotics (normally I just take one a day, but I upped it to two a day for the two weeks I was abstaining from all carbs to kill off the yeast).
These are the supplements I took to reduce my sugar cravings and normalize my blood sugar:

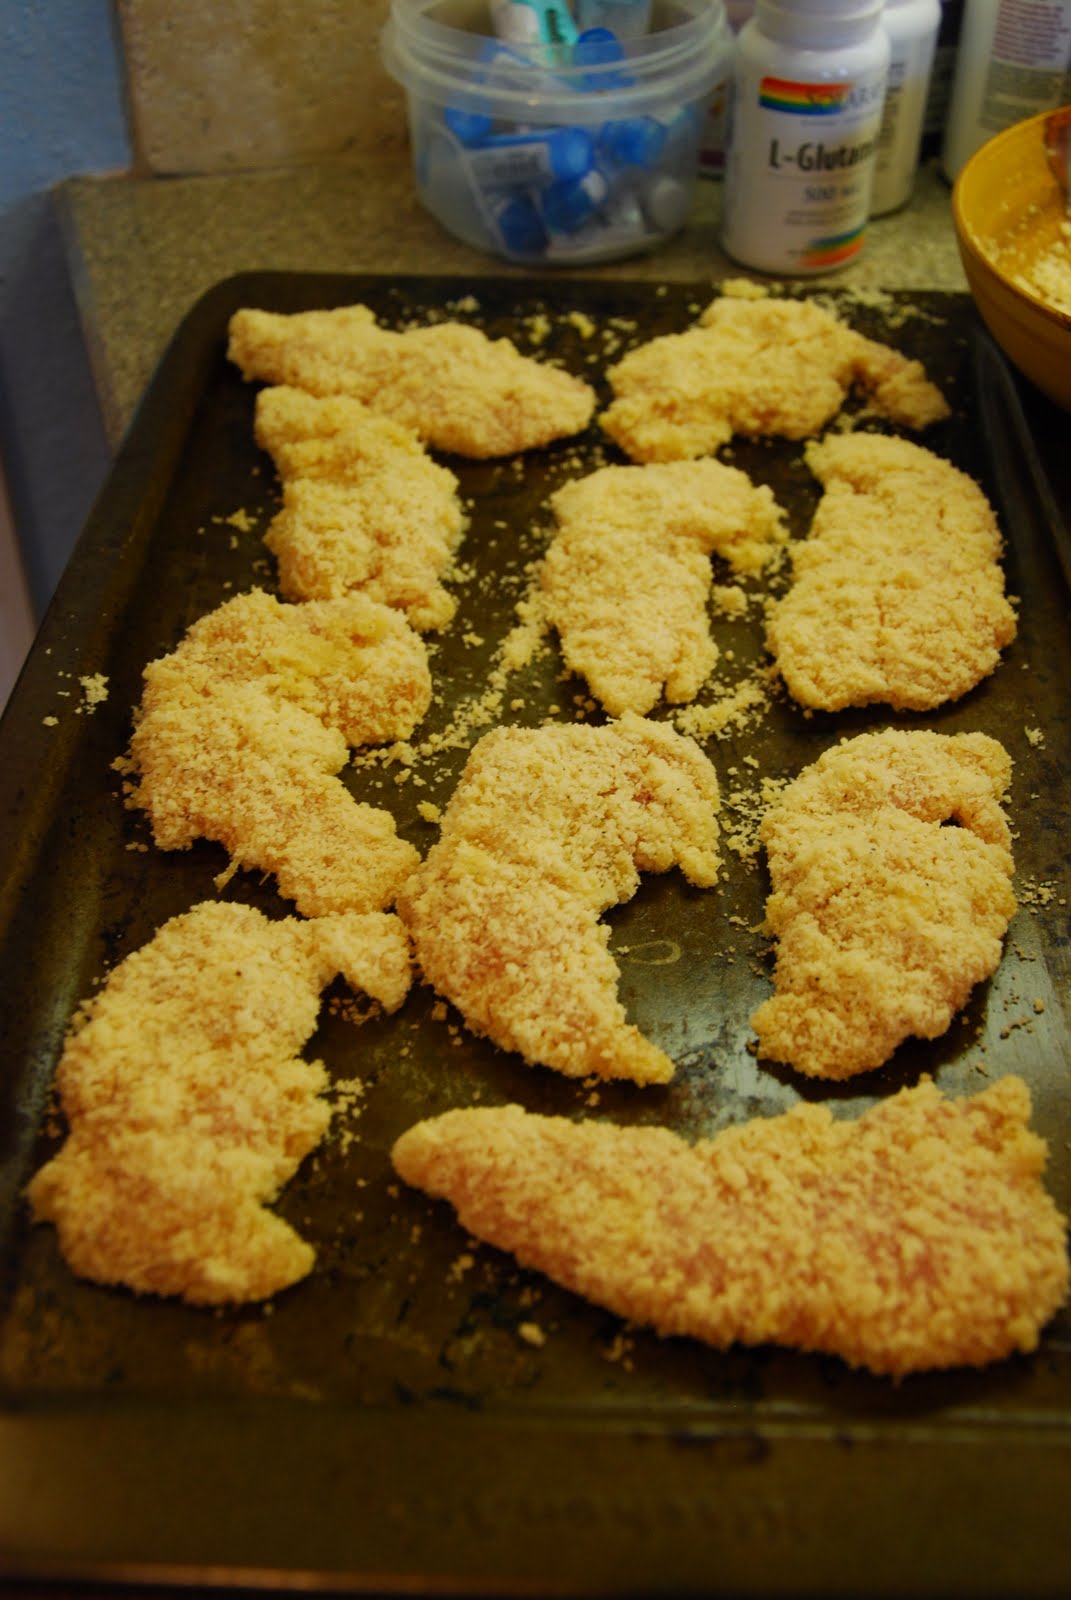
  • L-Gluatmine ( I took this 4 times a day, one with each meal and one before bed time)
  • Chromium 3 times a day with meals
  • Biotin, 3 times a day with meals
  • Vitamin B1, 2 times a day with meals
  • I also upped my prenatal vitamin to three times a day, previously I had only taken one a day.  But after reading The Diet Cure, I realized that you are supposed to take 3 to 6 pills in one day to get the full amount!  Check your bottle at home, it will probably say one serving is 4 pills!
  • I also upped my calcium and magnesium.  This is not directly related to sugar cravings, but something I realized I was a little deficient in after reading about the amounts I should be getting per day in a supplement.
I continued to take my protandim, cod liver oil and extra vitamin D like normal.  I also still take GABA and Tryptophan to help restore my adrenals from a lifetime of sugar and caffeine addiction.  I will probably stop taking them in another month.

It's a lot of pills. I know.

And its expensive, I get it.

But once you have killed the yeast and freed yourself from your addiction to sugar you do not need to take anything other than your normal daily vitamins (which for me is a prenatal, vitamin d, now calcium and magnesium, cod liver oil and protandim).

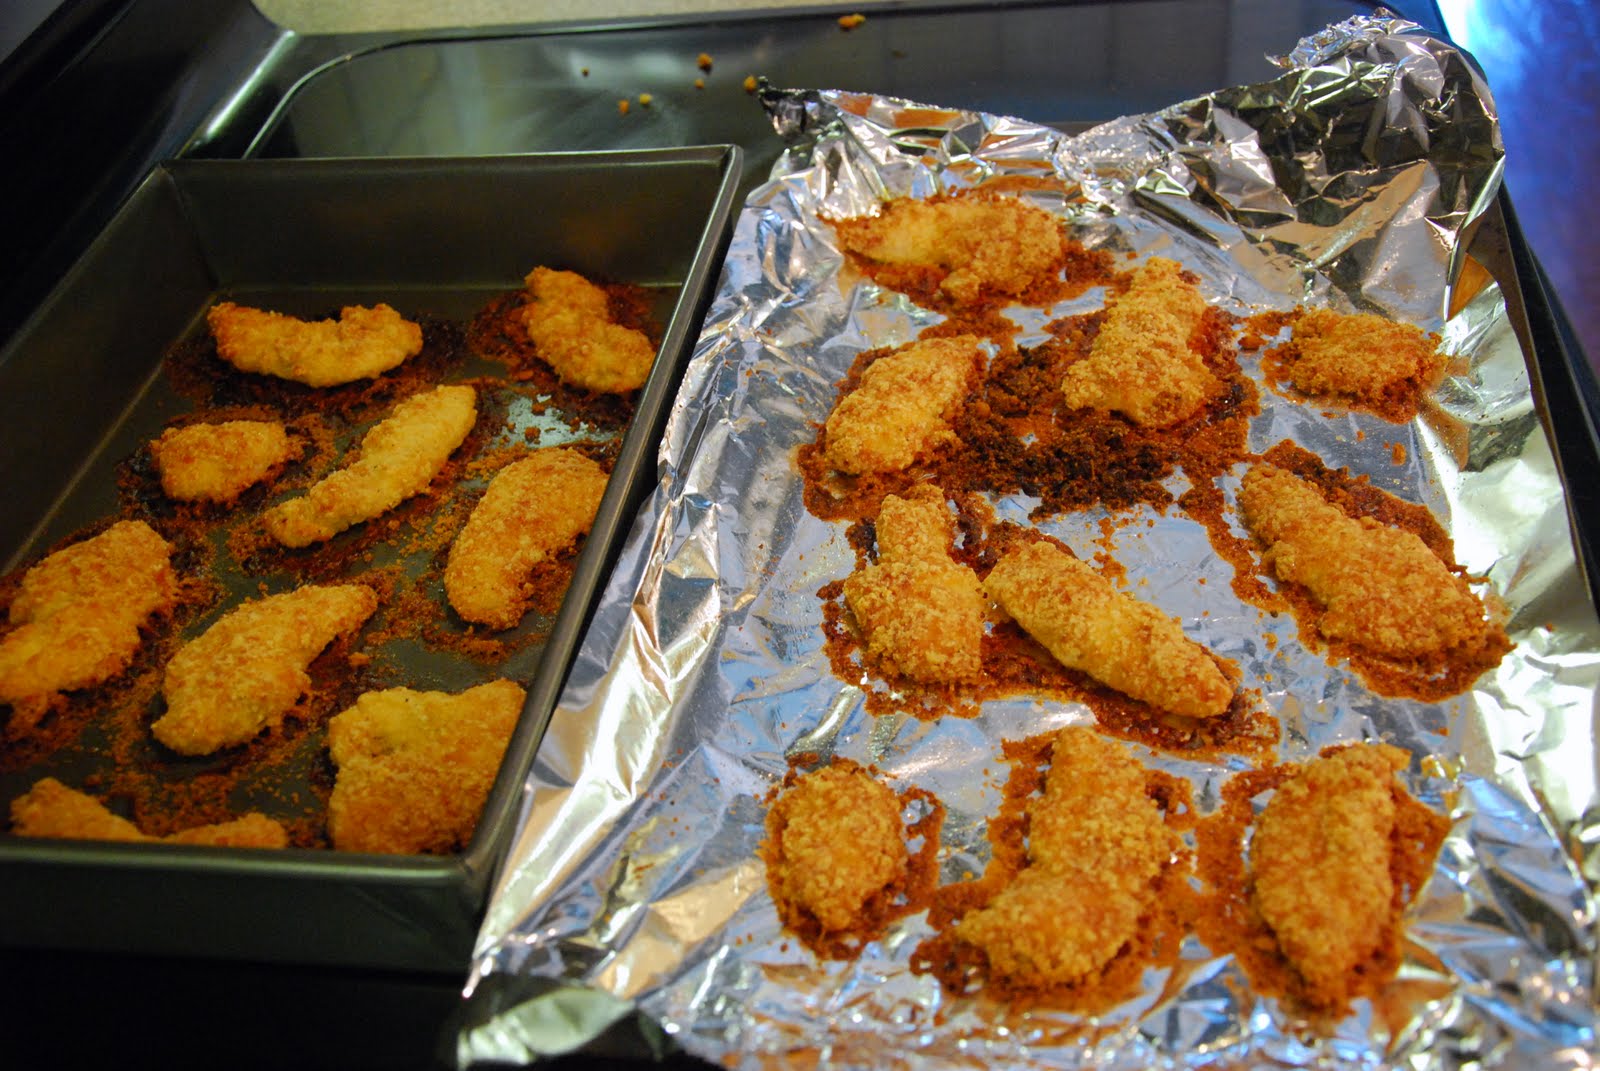
So, I made it 5 days. No gluten and no sugar, no wine, nothing.  Day 5 I had a piece of chocolate cake. Day 6 some chicken tenders and beer.  Day 7 it just went down hill fast.  I pretty much binged on sugar for the next week.

I thought that I didn't loose any of my belly flab, but when I reintroduced sugar (read:stuffed my face) my belly almost instantaneously got bigger, flabbier, and more bloated.  If I could have stuck with it for a few more weeks, I know I would be prancing around in a two piece right now.

Those 5 days taught me a lot.

I now notice much more how shitty gluten and sugar make me feel ( my lymph nodes get swollen, I feel waves of extreme fatigue and irritability, and nasal drip and congestion).

I think my yeast is much stronger than I realized.  I also think that I am a much more of disordered eater than I realized.  For me, that means I rely heavily on food for emotional nourishment and to de-stress.

So I need do some more emotional work to get my head in a more stable place before I try this again (maybe its the yeast making excuses!)  I have been doing a new treatment for the past two weeks and I really think it is making a big difference. It's something called Trauma Release Exercises, and it is awesome. I will tell ya'll about it soon.

Back to the drawing board I go. Just putting one foot in front of the other.  At least going in the right direction and praying that one day I will quit my sugar addiction for good.

If anyone wants to do some more research, here are some good links that talk about how awful sugar is for you:


Insuline Resistance


Stop Sugar Cravings

Guide To Natural Sweeteners


Intestinal Belly Fat and Yeast


Thursday, May 19, 2011

Toddler Jumpsuit

I am SO proud of this little ditty.  What do you think?  It was my very first time sewing something other than a dress.

Shorts!  Oh, the doors this opens for me.  Pants are next.

I was lucky enough to borrow my neighbor's sewing machine since mine has officially crapped out on me.  I had no idea how LOUD my sewing machine was until I used hers.  Hers has this quiet little hum.  Mine sounds like a diesel truck!  It's so loud, I can't even sew while Penelope is sleeping because it will wake her up.  I need a new sewing machine don't I?  

I used a pattern I found online for the shorts.  You can see it here.  Her pdf was for a 2t size, but when I cut out exactly as the pattern is, they were way, way too small.  Oh well, I made some very tiny and very cute shorts for a friend of mine that is having a baby girl at the end of the summer.
I hear there are ways to enlarge a pdf, but my brain is much too small for such things.  This is what I did instead.  I pinned the paper to my fabric and gave it about an inch and a half wide berth around the edges.

It's called the Good Enough Stephanie Way.  Much to the chagrin of my husband, who does things the Absolute Perfection Peter Way.

Then I used a tank top of Penelope's to measure the length, width and armhole size for the top part the jumper.  It is essentially what a pillow case dress looks like in the beginning of the project, but smaller.

I sewed along both sides, stopping at the armholes and then finished with pinking shears since I don't have a serger.
 Then I used bias tape to finish the edges.  You can learn how to use bias tape here.
 Then onto the shorts.  After you cut them out, unfold your fabric and lay them right sides facing. 
 Then sew up the sides, stopping at the crotch area.
 Now you have a tube of fabric.  Lay it so they look like shorts, with the crotch at the bottom.  So along the crotch area. 
 Then fold over once then twice, on each leg and pin in place.  Then sew. 
 Same thing at the top.  On the tiny pair I made, I put elastic in the top.  I wanted to put elastic on the legs too, to make them like little bloomers, but I didn't have enough fabric to make a large enough casing.  Elastic is very easy, you can see how to make a casing and use elastic here.
 Then turn both the top and the bottom inside out and pin together.
 You pin the pieces right side facing.  And sew together.  My shorts were wider than the top, so I made about 4 pleats as I was sewing the top to the shorts.
 Then turn back right side out and viola!  So cute, right?!  I thought I was going to add elastic to the middle, but when I tried it on her, it fit perfectly with no room for elastic.

Also, because the first shorts I cut out were too small, when I cut out the second pair I had to lay my fabric the opposite way to have enough fabric.  Thus, in the shorts the peace signs are going horizontal and in the top they are going vertical.  I would have preferred them to be the same. 

Here I am letting her play with pins so I can get a shot in good light.  I am an awesome mother, I know.  Whatever, it's good for her fine motor skills, right?

If I had to make this again, I would make it even bigger, she won't be able to wear this long.  And I would have made the effort to run to the fabric store to get matching bias tape.  The teal is cute, but it would have been much cuter with a perfectly coordinated color, or maybe that is just the OCD in me talking.

Hope you like!

Wednesday, May 18, 2011

Yoga for Your Child: Frog Pose


Frog Pose, for your child, is essentially Garland Pose (also known as Squat Pose.)  So Mamas, when you are demonstrating this pose for your child, YOU get all the benefits!  And whether you are trying to conceive, pregnant or somewhere on your post partum journey, this pose is SO good for you.

What I love about watching Penelope do yoga, and other kids for that matter, is witnessing how natural yoga comes to them.  Check out her form-absolute perfection on her first try!

Her heels are firmly planted on the ground, and the weight of her body is evenly distributed throughout her feet.

Her  knees are pointing up and her toes are directly forward.  Often times, the only way and adult with tight hips can get into this pose, is by turning the feet outward at angle and splaying the legs open a bit.

Her pelvis is under and her spine is perfectly straight.

She was even able to put her hands in prayer and balance.


When they are in frog pose, you can say "What does the frog say?!"  And reply with;  ribbit, ribbit!

I also will do the Baby Signs for frog (you just stick your tongue out.)

As they get older, they can start hopping and jumping around like Frogs!

Just FYI, most of the baby yoga poses I post, I learned at my Itsy Bitsy Yoga training. The founder and creator, Helen Garabedian, has a great book and dvds that you can purchase to help your home practice. Or you can go to her website and try and find a class near you!


Monday, May 16, 2011

Moroccan Lamb, Italian Beef and Cranberry Chicken Freezer Meals


The menu I did recently was Moroccan Lamb Stew, Italian Beef Stew and Cranberry Chicken.

A trick that I have learned, for an even speedier assembly of meals, is to group all ingredients first.  Sometimes you have items that overlap, like chopped onions, that go into to different recipes. Just separate them out as much as you can, and then go down the line.

First, I assemble all dry ingredients and vegetables in the gallon bags.  Then I add the raw meat last.  This time I bought my meat already cubed, so that save me a bunch of time.


Doing my big cooking day this way (with only slow cooker meals), I do this about every two weeks.  I do three different recipes and double each recipe for a total 6 bags of food.  Each bag, is two dinners and lunch, so that leaves several days that we can use to eat out, or if I get inspired to cook something not in our freezer meal rotation, like a roast chicken.


Not including grocery shopping time, it takes me less than two hours to chop all the veggies, assemble the bags and clean up.  

Pretty awesome, right?!

Here are the recipes, and remember we always buy all organic ingredients.

Cranberry Chicken:
2 medium apples, cut into wedges
1 medium onion, chopped
2 pounds chicken breasts or thighs
2 lemons cut into wedges
2 tablespoons quick cooking tapioca
2 tablespoons honey
1 can of cranberry sauce (or you can use fresh cranberries if they are in season)

Dump everything into gallon freezer bag and label.  When ready to cook, dump into slow cooker and cook on high for 4 hours.  Serve with rice or couscous.

Moroccan Lamb Stew:
2 pounds boneless lamb
2 large onions chopped
1 can/1 cup chopped tomato
2 cups carrots
2 cups chicken broth
1 teaspoon of ground cumin
1 teaspoon of turmeric
1 teaspoon of red pepper
.5 cup of raisins

Dump everything into gallon freezer bag and label (except broth, just add that the day you cook it).  When ready to cook, dump into slow cooker and cook on high for 4 hours.  Serve with couscous.

Italian Beef:
4 pounds of beef sirloin or rump roast, cubed
1 tablespoon of Italian seasoning
1 teaspoon red pepper
1 teaspoon garlic powder
2 red peppers, thinly sliced.

Dump everything into gallon freezer bag and label (except broth, just add that the day you cook it.) When ready to cook, dump into slow cooker and cook on high for 4 hours.  Serve with couscous, or on rolls to make a sandwich or even on a pizza and add some cheese.

Enjoy!!

Friday, May 13, 2011

Vibram FiveFingers Shoe Review


About two months ago, Tara and I were graciously given a pair of Vibram FiveFingers shoes from The Shoe Box, in Tallahassee, Florida.

Tara had previously bought this pair, that is just for yoga and strength training and loved them. She then talked me in to wanting a pair too. I was not too keen on them at first, since they are so different looking. But after wearing them for two months I am in love. I think I may start wearing them around town too!

We each got two different kinds. She got the Bikila which is specific for running. Tara is a girly-girl and loves pink, so these fit her perfectly.

I got the Komodo Sport, a running/cross training pair in a more subdued, but still fun, blue color.

You have to really start slow with your new Five Fingers or your calves and feet will be very sore. Both us had some very sore muscles starting out. Check out this page to learn more:

Tara says:

"I love my five fingers!  I feel like everything they stand for, backs up what I believe in (living as natural as possible.)  They are as close to being barefoot as possible which in turn helps you have the most natural stride you are suppose to have.  Your feet and calves work harder so your knees and hips joints don't. I put my Nike Shox (the shoe I swore by for years) today, for the first time in about a month, and my feet ached and burned. I have gotten spoiled in my five fingers!"

From the Vibram Five Fingers site,  5 Reasons to Wear Vibram FiveFingers:

1. Strengthens Muscles in the Feet and Lower Legs—Wearing Vibram FiveFingers will stimulate and strengthen muscles in the feet and lower legs, improving general foot health and reducing the risk of injury.

2. Improves Range of Motion in Ankles, Feet and Toes—No longer 'cast' in a shoe, the foot and toes move more naturally.

3. Stimulates Neural Function Important to Balance and Agility—When wearing Vibram FiveFingers, thousands of neurological receptors in the feet send valuable information to the brain, improving balance and agility.

4. Eliminate Heel Lift to Align the Spine and Improve Posture—By lowering the heel, your bodyweight becomes evenly distributed across the footbed, promoting proper posture and spinal alignment.

5. Allow the Foot and Body to Move Naturally—Which just FEELS GOOD.
They even make kids shoes! I can't wait till Penelope's feet are big enough to wear them.

What I really love about them, is that I feel much more grounded and connected to the earth when I wear them.  As you all know I have a background in massage therapy and energy healing and the bottoms of your feet have a TON of energy meridians and significant pressure points that correlate to the health of your whole body.  When you are walking/running barefoot you are essentially stimulating those points just like you would in a massage or reflexology session!

And because of that, the more you walk barefoot or wear Five Fingers, I believe, the greater your overall health will be.  If I were to get another pair to wear around town, I would get these or these.

They even make kids sizes (and The Shoe Box carries those as well.)  I can't wait till Penelope is big enough to wear them!

Thanks so much to The Shoe Box for sponsoring the 5k! 


Thursday, May 12, 2011

How To Draw A Labyrinth


Yesterday, I talked about Labyrinth's and how awesome they are, and today I will show you how to draw one.

You can draw one on anything; paper, sidewalk, paint one on a bed sheet (so you could walk it), you can even sew one, or make one in your back yard with river rocks.


First, you start with a cross.  If you are drawing one on a piece paper, you will want the cross to be on the bottom half of the page, not right in the middle.


Then add dots into each outer corner  to make the shape of a square.

If you want to do a Labyrinth with more paths, your starting point would look like this instead.


Then you start at the top of the cross, draw an arch and land at the first dot.

You always start at the left side and finish at the right for this type of labyrinth. Or you could change it up and do the opposite going right to left.


If it still does not make sense, take a look at these directions for the added visual of arrows showing you where the line begins and ends.

Then just keep going, until all the dots and lines are connected.


And Ta Da! You are done!


 The arrow marks the threshold and where you would enter.  Trace your finger to the center and back out again.  There is only one way in and one way out.


Have fun tracing!  Penelope is still a little too young to trace her finger, but she had fun drawing on the step next to me.  When she is older, this will be a fantastic activity to do, if we need to take a break from something and calm down.

Let me know if you have any questions.