Showing posts with label green living. Show all posts

Tuesday, November 15, 2011

Recycle, Reuse Refashion: Infinity Scarf for Mama

While I was making some new scarves for Penelope, I did a scarf refashion for myself.


I have had this big, chunky scarf for almost 10 years and I love it. It keeps me so warm!  But it was huge and it had some stains on the ends of it.  


So I cut off the ends, and I used a scarf that I already have as an example, to know how short to cut it.  If you were to cut out a piece from a yard of fabric, you would do a 12 to 15 x 24 rectangle piece and sew the short ends together


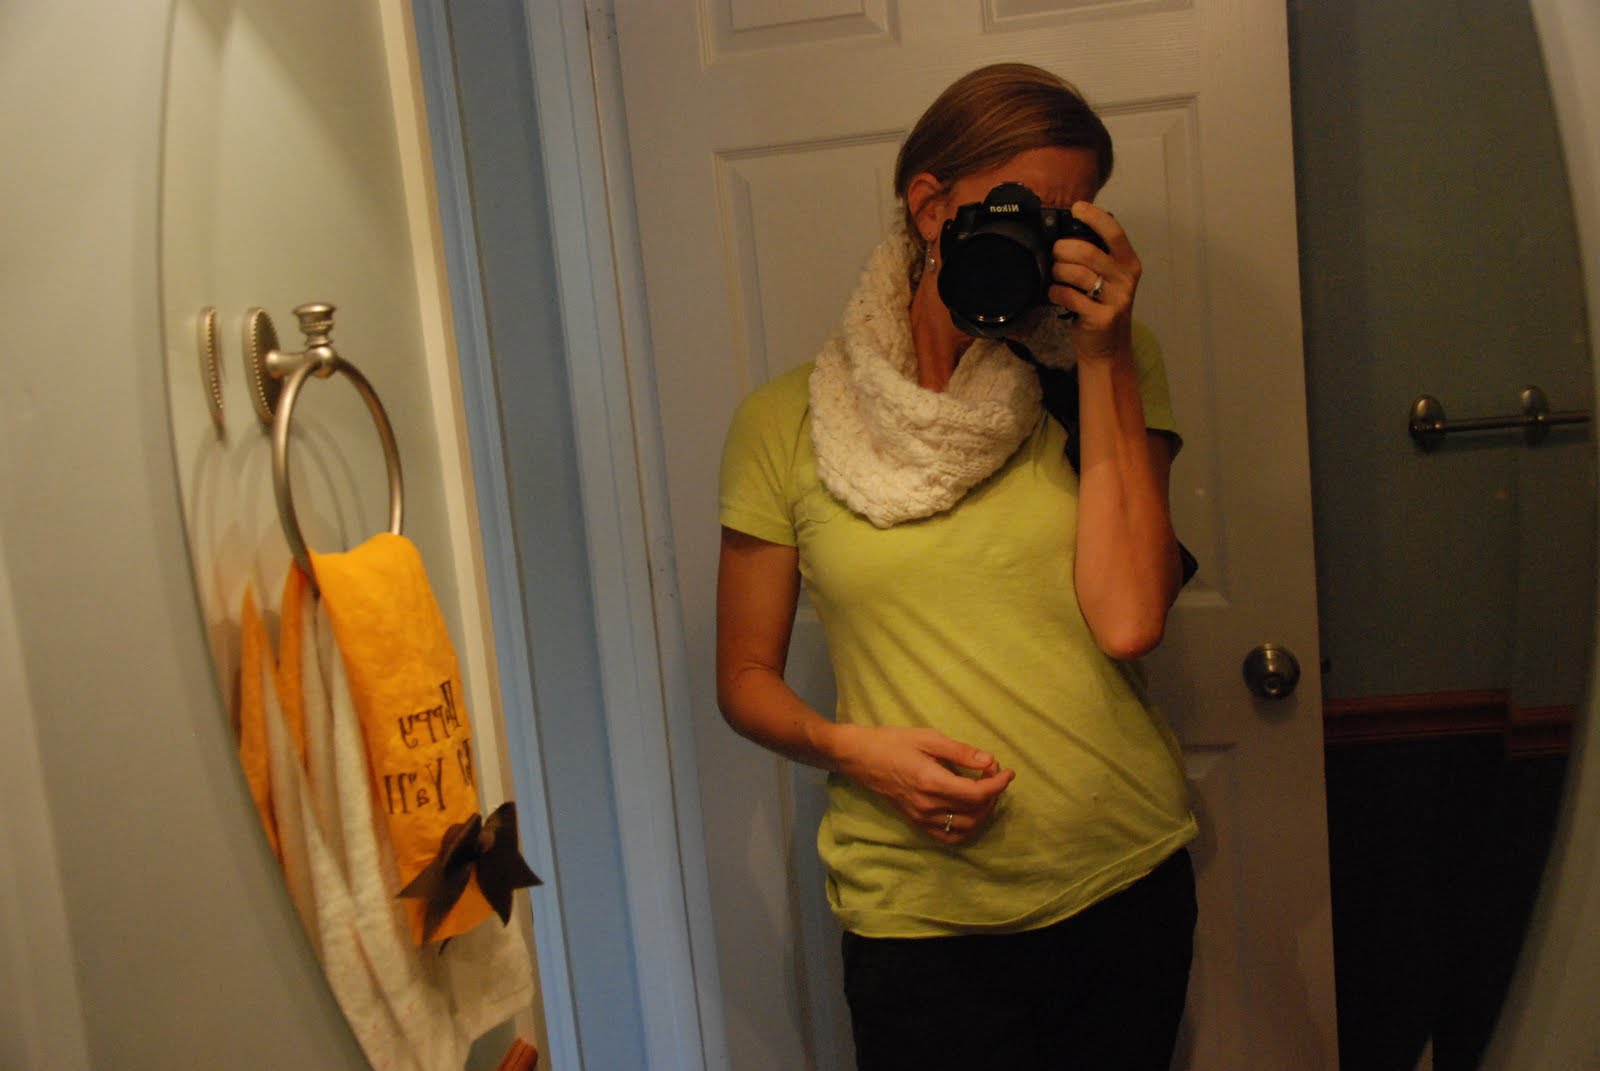
When I had my basic rectangle shape, I sewed the end pieces together and ta da!  Chunky, knit, Infinity scarf for Mama! 


Please forgive this horrible picture. My husband has been out of town for weeks and this is what I am reduced to, in order to get blog photos. If you wonder why I haven't done a Mama yoga post in a while, this is why!  I am giving Penelope a digital camera for Christmas, so maybe she will be able to take pictures of me soon!


Follow Me on Pinterest Or on Facebook!

Tuesday, August 2, 2011

Figs!

Last year during fig season I made this pie. It was AMAZING. Best pie I have ever made. And its because of the figs. Picked at the peak of flavor, from a local farmer, Turkey Hill Farm.  They are apart of the Red Hill Farm Alliance, if you are on Facebook you should check them out.  They are doing some cool things, for example you can order and pay for your vegetables online!

This year, I wanted to try and do a different recipe but that got vetoed very quickly from my husband, who has a sweet tooth the size of Texas.

Check out these pictures of Penelope when we were on the farm to pick them up.

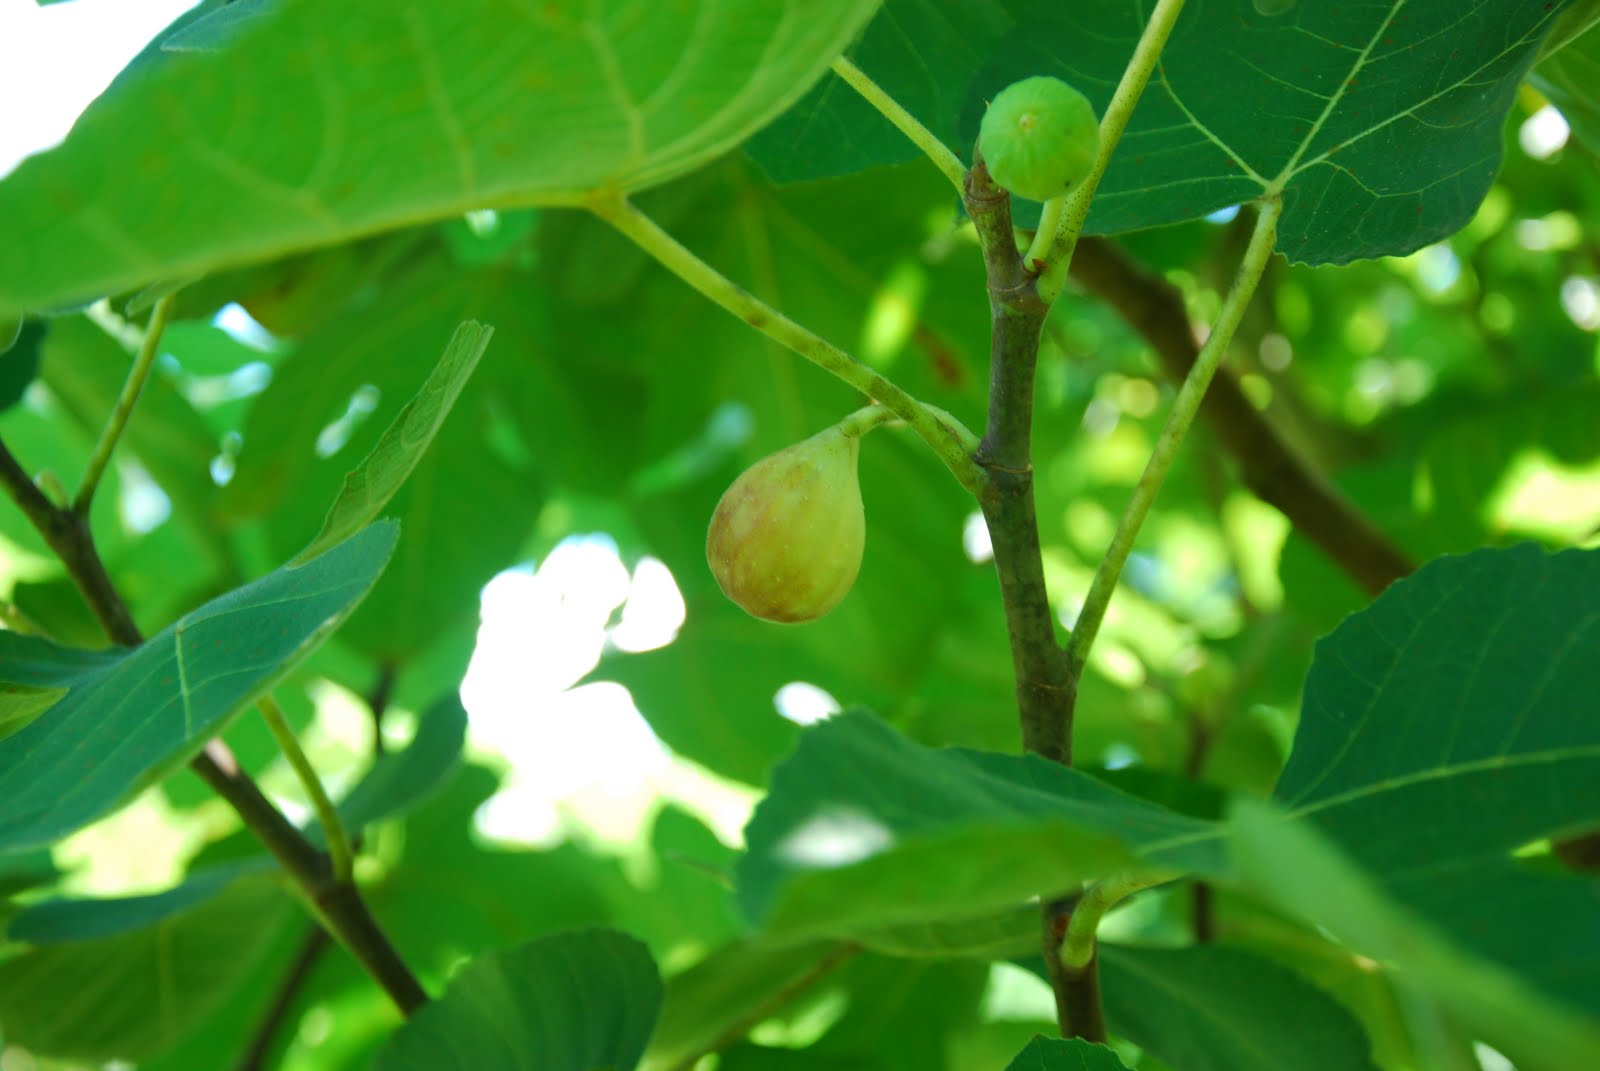
Here's a fig on the tree. I think fig trees are so pretty. 

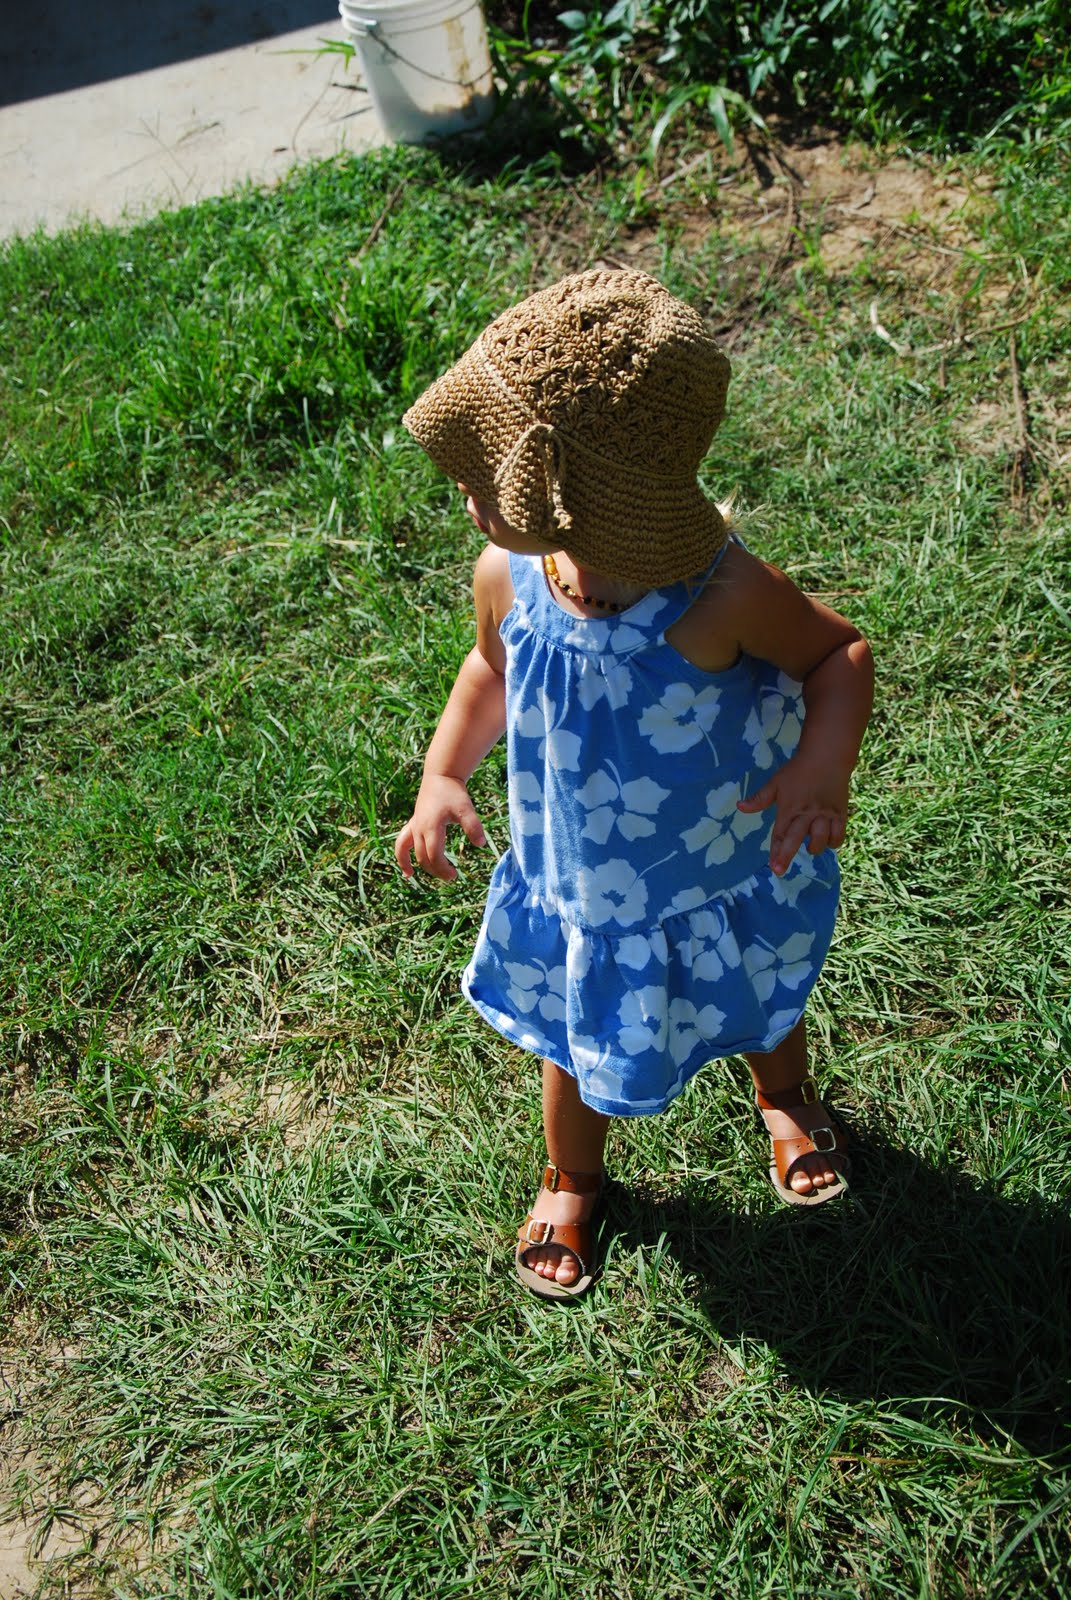
Sweet girl in her straw hat like mama.
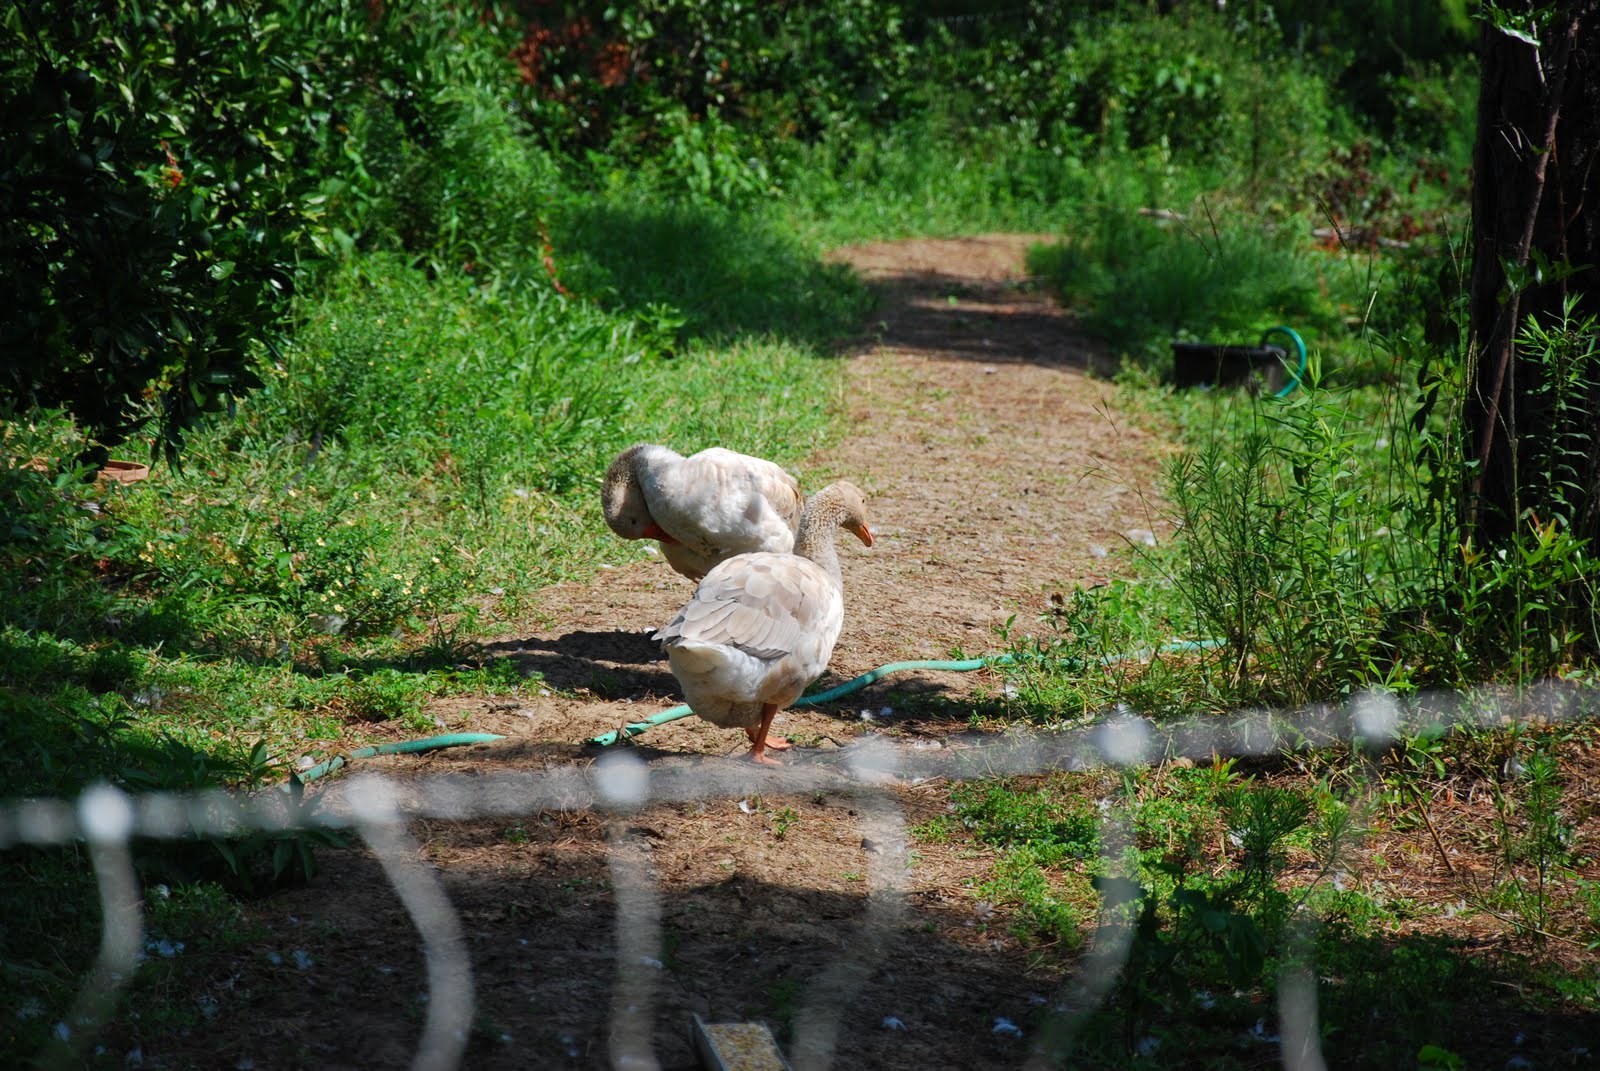
The geese they have on the farm.  Penelope loved them.

Pin It

Monday, February 21, 2011

Homemade Organic Blonde Highlights

The other week I attempted to highlight my hair at home using all organic materials. In an effort to save money and not put the chemicals into my body from the highlights at the salon.  I whipped up a recipe based on a couple I found online, here and here.

I boiled 5 bags of organic Calendula tea in about 2 cups of water.  Next time I am going to try less water, like half of a cup,  in order to make more of a paste instead of something liquid.

Once the tea was done, I added the juice of 4 organic lemons, about 1/4 to 1/2 cup of Braggs Apple Cider Vinegar.

Then I added another 1/2 cup of local, organic Tupulo honey


Posted by Picasa

Penelope kept doing the sign for hat, while she was watching me do the highlights.  She thought I put one some crazy tin foil hat.

Making the recipe was easy-peasy, actually applying it, is when things turned into a sticky mess. I tried, in vein, to put the liquid on like they do at the hair salon. So parted my hair and used a wooden skewer to make little weave sections of my hair. You know what I am talking about? How at the salon they use the pointy end of a comb to section your hair to make the highlights look natural? And then they cover it with a foil.

Yeah, well that shit didn't work for me. So I ended up just dumping the liquid on my head and let it sit for 20 minutes. It made a huge mess in my bathroom sink, but at least it was tasty and no chemicals in my eye or in the air for Penelope.

Then I washed my hair like normal. When my hair was dry, I did in fact see a difference. All my blond highlights I have from getting them done professionally in the past, were much lighter. But it did nothing for my dark roots or for my white hairs, so in my case it was a flop.

But if YOU have dirty blond hair naturally and want some subtle, natural highlights, this is perfect.

I froze the rest of the batch that I didn't use, so next time I will try to go outside and let my hair dry in the sun- the effect is suppossed to be stronger that way.

This post is apart of The Healthy Home Economist's Monday Mania.

Tuesday, December 14, 2010

Homemade Laundry Soap

 
Posted by Picasa


Posted by Picasa
I got inspired to make my own laundry soap after I saw this post on Progressive Pioneer.
I am so glad I did!  It is ridiculously easy to make.  Once you buy your ingredients, the made laundry soap is crazy cheap, and it works perfectly!  No more buying expensive Seventh Generation soap for us!

Here is the recipe, again pulled from Progressive Pioneer's post.  However, on her blog, she used a t, for teaspoon and it just seemed like not enough soap to me, so I changed the recipe and used a T, for tablespoon, for each type of soap.

You can get all the ingredients at your grocery store.  I bought the washing soda and borax at Publix and the naptha soap at New Leaf.


3T naptha soap grated (I used my cheese grater, and washed it good afterward, but you probably should buy a separate grater just for soap)
4T washing soda
4T borax
5 cups cold water
3/4 cup hot water
essential oils ( Iused lavender and tea tree oil, because that is what I use for my diaper spray and all purpose spray)

Melt the soap, with the 3/4 cup water in a pot on the stove. Stir frequently. Take off the heat and when it has cooled a bit, add the cold water and essential oils.  Then add it to an old laundry soap dispenser container, shake it up and viola!  Homemade Laundry Soap!

P.S. I do not use this on my cloth diapers,  I use Rocking Green for that.  However, there are other recipes on the web that are suppossed to be fine for cloth diapers.
P.S.S. I tripled the recipe when I made it, to make a big batch.

Tuesday, October 5, 2010

Recycled Crayon Party Favors


Posted by Picasa

It is full on party count down at my house. Penelope will be ONE on November 11th. INSANE.

I have been practicing baking for months and have slowly started making all the party decorations including these Recycled Crayon Party Favors. I figured I could wait till after her party and do one ginormous birthday blog post or post as I go along.


First, take the paper off all the crayons. This part is a BITCH. Half way through, I started using an utility knife to cut a slit down the crayon and open them that way. Much easier, but still pretty annoying.

Then if you are a bit OCD like me, line them up in a pretty color combination and admire your hard work.


Then break them up into pieces and drop them into your mold. I used a flower shaped cupcake pan that I bought at Pampered Chef party years ago. The crayon does not come out! So whatever you use, you will be regulating the pan's future only to crayon making. There are all kinds of cheap plastic molds you can get at the craft store instead.

I did three color combos; red, oranges and yellows, then blues and greens, and lastly blues and purples.


You bake them in the oven at 275 for about 10 minutes. But just watch them, the second they are all melted take them out to start cooling. The more they melt in the oven, the less the color swirls will be. And do not mix them with a stick while in the oven, it makes the swirls less as well (learned from experience, trust me).

Here is another tutorial on how do this a slightly different way.

It's a great way to make use of  old, broken crayons.  For the sake of full disclosure, I used half old, broken crayons and half new crayons that I scored at Target for $1.

Thursday, September 23, 2010

Homemade All Purpose Spray Cleaner


Posted by Picasa

I have been using green/enviromentaly friendly cleaners for a long time. I have used several different brands over the years and I love Seventh Generation, but its pretty expensive. I also really love using Shaklee. You can buy little vials of the ingredients and then you just add water and put it all in a spray bottle.

A couple of months ago I started making my own All-Purpose Spray. It is so easy! The recipe I use is actually really similar to the diaper wipe spray I make, except this has vinegar in it. And it works just as good, if not better, than Seventh Generation!

These are the things you will need to make your own:
-Spray Bottle. You can get these anywhere, the dollar store, target, etc.
-Distilled White Vinegar
-Dish Soap
-Lavender and Tea Tree essential oil.

Once you have gathered up all your ingredients, fill up your spray bottle with water.  I use a 1 to 4 ratio of water and vinegar.  That means if you have 4 cups of water, you put in 1 cup of vinegar.  Then I add the dish soap.  I just eye balled it, it was probably a half a tablespoon worth, I don't like mine very sudsy.  Then I added the esstential oils.   Probably 10 drops of Tea Tree oil and 5 of Lavender.  Gently mix it up and viola you have Homemade All Purpose Spray! 

Next up, I am going to try and make Homemade Laundry Soap.  It will end up costing me 1 penny a load!

Monday, September 20, 2010

No More Toilet Paper


I figured if I am washing cloth diapers and wipes, cloth napkins, cloth place mats, cloth dish rags (instead of paper towels), whats a little more cloth wipes?

I am constantly trying to be a better person, mother, wife, and I am always trying to be more "green" and reduce my natural urge to be over consumptive and have lots of shiny new things.

It's very easy to not do something different, well, because its different. I am not sure when toilet paper was invented, but its probably within the last hundred years. Kind of like air conditioning.  People act like we have always had it, but hello, it wasn't until the late sixties, early seventies that people even started to have it in their homes and cars! So people (my husband) act like using anything but toilet paper, and paper towels for that matter, is absolute insanity. He literally stormed out of the room in a huff when I said I wanted to switch to cloth wipes instead of buying toilet paper.

I don't get it. I thought he might like the idea of soft flannel on his bum, especially since he doesn't have to do ANY laundry, EVER. What does he care?

But the idea of change is so uncomfortable for some people that they immediately knock it down without giving it a genuine moment of reflection. So in the end we compromised. Sort of. Currently, I am the only adult in the house using the cloth wipes and only for pee. He says he is even "greener" than me and "shakes" when he pees-sorry if that is TMI but not sure how else to say it!

So here's how it works:

I have a little metal trashcan in the hall bath next to the toilet and a stack of wipes on the back of the toilet. I use two cloth wipes each time I pee and just throw them in the can. In our master bedroom bath, we have our cloth diaper pail in there, so when I use the bathroom there, I just throw the wipes in pail. When I do a load of cloth diapers, I throw in my cloth wipes in with diapers and wash like normal. Easy PEEsy.

Since, I am trying not to buy new things unless absolutely necessary, to save money and again, to reduce my consumptive nature. I cut up some flannel receiving blankets from when Penelope was a newborn ( I still have plenty for posterity, don't worry). I used one of her Bum Genius wipes as a size template and cut them up using pinking sheers, so the sides didn't fray. If you are a better sewer than I, you could do a zig zag stitch over the edge, sort of like a rolled hem.

Posted by Picasa

So do you think I am nuts? Would you ever dare to use cloth wipes in your household?

Thursday, September 2, 2010

Recycle, Reuse Refasion III


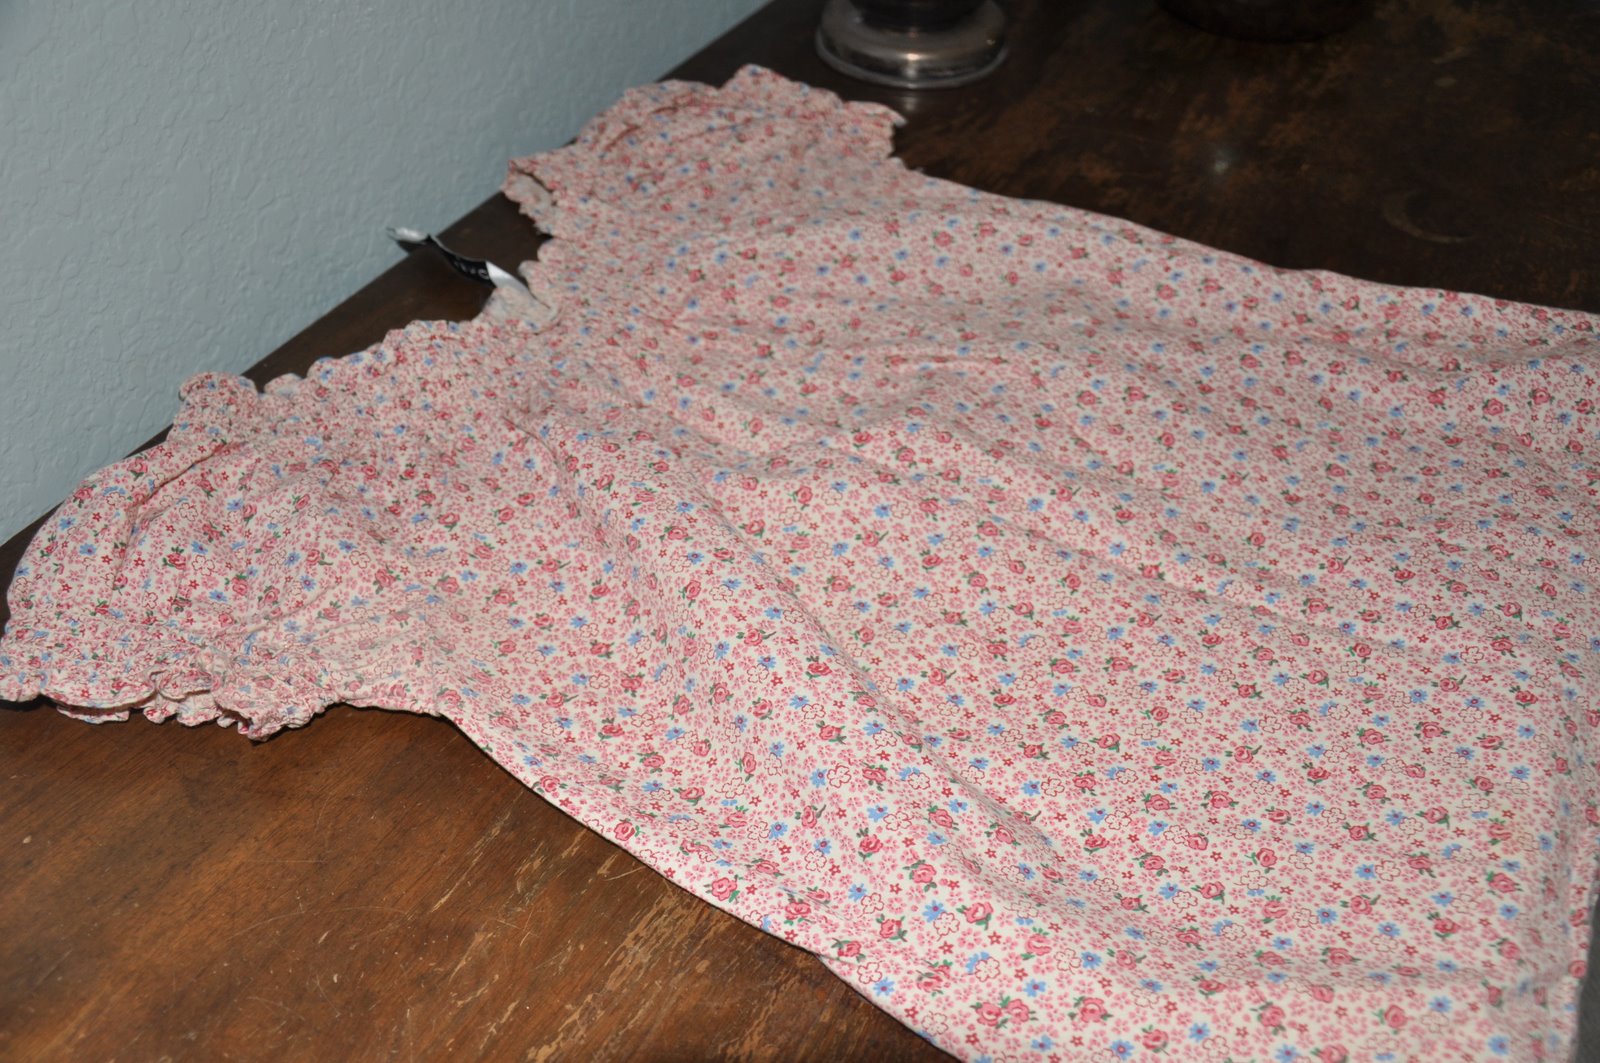
This is a beloved dress from my college years, more exactly, my hippy college years. Who am I kidding, I am still a hippy, but I just dress more preppy now.

And since I would not be caught wearing this dress anytime soon, but it has such a pretty print, I decided to cut it up and refashion it!


First I made this little top for Penelope. It's the same basic idea of a pillow case dress, but I cut it short to be a top and only did the front to make it a halter.
To gather the back, I just did two darts. You could probably also do elastic or a basting stitch.


Then I made myself a head scarf. Which I can't use anymore now that I have chopped off all my hair.  Well, maybe I could. I guess people with short hair can still wear scarfs in their hair, I will have to try!


I also attempted to make myself a shirt, similar to the Snappy Baby Dress I made, but I sewed the yoke together instead of doing two pieces with snaps. I used a shirt I have in the same style and tried to make a pattern from it. I did well on the actually assembly of the shirt, but I got the sizing wrong. The armholes are too short and it doesn't fit my boobs. Oh well, I am sure I can figure out how to save it and turn it into a dress for Miss P.
Posted by Picasa

Thursday, August 12, 2010

Current Giveaway: Green Toys Feeding Set!


Green Toys sent me a set of their BPA Free Feeding Bowls, Feeding Utensils and Plates.  They came just in the nick of time.  Penelope has been doing really great with Baby Led Weaning.  She pretty much eats whatever we are eating for dinner now.  She is not eating a ton in general, and sometimes she just chews the food and spits it out.  Some nights she eats a bunch, it just depends on her mood.  Every night, she eats one egg yolk.   I use the bowl to pour the egg yolk in after I boil the egg and break it open.  And I use the plate to put a few bite sized pieces of food on it and let her go to town eating whatever she chooses.  I spoon fed her the egg yolk and use the spoon that came in the utensil package.  It's so tiny and cute!  Penelope loves to grab it and take it from me to try and feed herself.

I am thrilled with all three products!  And I love having several of each to use.  The look so freaking cute stacked in my cabinets. 

The company is oh so crunchy and green, um hello they named it Green Toys for a reason!  They use recycled milk jugs to make everything.  They are made in the USA, California to be exact.  All Green Toys products are packaged in recycled corrugated boxes with no plastics, cellophane or twist-ties, and are 100% recyclable.   And most importantly, the products contain no traceable amounts of Phthalates or BPA. They are also designed without any external coatings, eliminating the fear of lead paint.

Since I love the bowls, plates and utensils so much I am being a little stingy with my giveaway this time around.  Green Toys sent me one package of each and each package has four items in it.  I am keeping three and giving away one.  The giveaway will be a little starter set of one plate, one bowl, one spoon and one fork! 


You can enter to win by leaving a comment below!  You can gain SIX additional entries in the following ways, but remember to leave an ADDITIONAL COMMENT FOR EACH ENTRY.  1) add MBL to your blog roll (1st timers only) 2) become a fan on facebook (1st timers only)  3) mention the giveaway on your blog, or 5) on facebook, or 6) on twitter.  A winner will be randomly selected on August 28th 12p EST.  Good luck!

And p.s. the company makes the most adorable tea set out of the same material.  I actually purchased a set last December when I found it on sale.  It's been in our closet ever since, waiting to be wrapped for Christmas.


Thursday, July 8, 2010

How to Freeze Blueberries


Posted by Picasa
Penelope and I went blueberry picking last weekend and came home with 5 pounds of blueberries. We used 2 pints for a blueberry pie (recipe and tutorial to coming soon!) and froze the rest.

First I picked off all the stems and picked out any red and not fully ripe berries. I also looked for berries that had been crushed or cracked. Then I spread them out on to cookie sheets and put them in the freezer. DO NOT wash them before you lay them on the cookie sheets.

I put some in the deep freezer and some in our side door freezer connected to our fridge. I let them freeze for about two days and then I took them out and put them in gallon freezer bags and laid them flat, like bricks. By freezing them on the cookie sheets first, the berries do not stick together in the bag and you can scoop out a cup at time as needed. The owner of the blueberry farm that we visited said that she keeps them in her deep freezer for up to a year, in a side door freezer they would last six months.

We found the organic blueberry u-pick farm by searching LocalHarvest.org. Its a great site to help you find organic, local and farm fresh foods.

This is a blog post I found with a yummy blueberry recipe and she also had some Aruvedic information about blueberries.

Thursday, July 1, 2010

Starting Solids: Blackberries are a Hit!


Posted by Picasa

I intended for this to be a post about eating local, farm-fresh foods, but today is turning out to be pretty insane for me. So instead, its just a show and tell of a cutie patootie picture of Penelope eating her new favorite: blackberries!

Thursday, June 10, 2010

Semi-Homemade Blackberry Cobbler


Last week I picked a gallon of blackberries from a neighbor's yard! They are crazy yummy, very sweet and not tart. I made a blackberry cobbler with the majority of them, but still had plenty of leftover to put in my oatmeal (it's good for your milk supply) I eat for breakfast all week.


I have never made blackberry cobbler before and to find a recipe, I did a quick google search and picked the first one I saw. I was in a rush to get to the grocery store during my small window of time that I didn't need to be feeding Penelope or pumping, or putting her to sleep, or changing her diaper, etc.

This is the recipe I used. I did not make my pie crust from scratch. Come on people, it was almost an act of God just to get the cobbler made, even with a ready made crust!

Posted by Picasa

The finished product! I had some extra berries and pie crust so I made two extra thingys ( I know there is a proper name for those dishes, but I am too tired and I can't think of it.) I thought it came out really tasty. Especially, when it was still warm, right from the oven. Peter, not so much, after eating a slice he says "um,I don't really like blackberries." Whatever. It's not like I am not capable of eating the whole pie myself.

Thursday, June 3, 2010

Eco-Friendly Kids Sneaker


These are so cute! Too bad they don't come in smaller sizes.

Does anyone have any great shoe recommendations for new walkers (Penelope is not even crawling yet, but a girl can dream), that are similar to these, made out recycled, organic and hemp materials, etc?

Friday, May 28, 2010

Our Edible Backyard


Well, it would be an edible back yard if we could figure out how to keep the birds from eating our strawberries, blueberries and plums. This is a picture of one of our 8 blueberry bushes. Almost ready!


One of our plum trees. This was the first year we really had a good amount of plums, but we still haven't eaten one yet. The birds always get to them first.


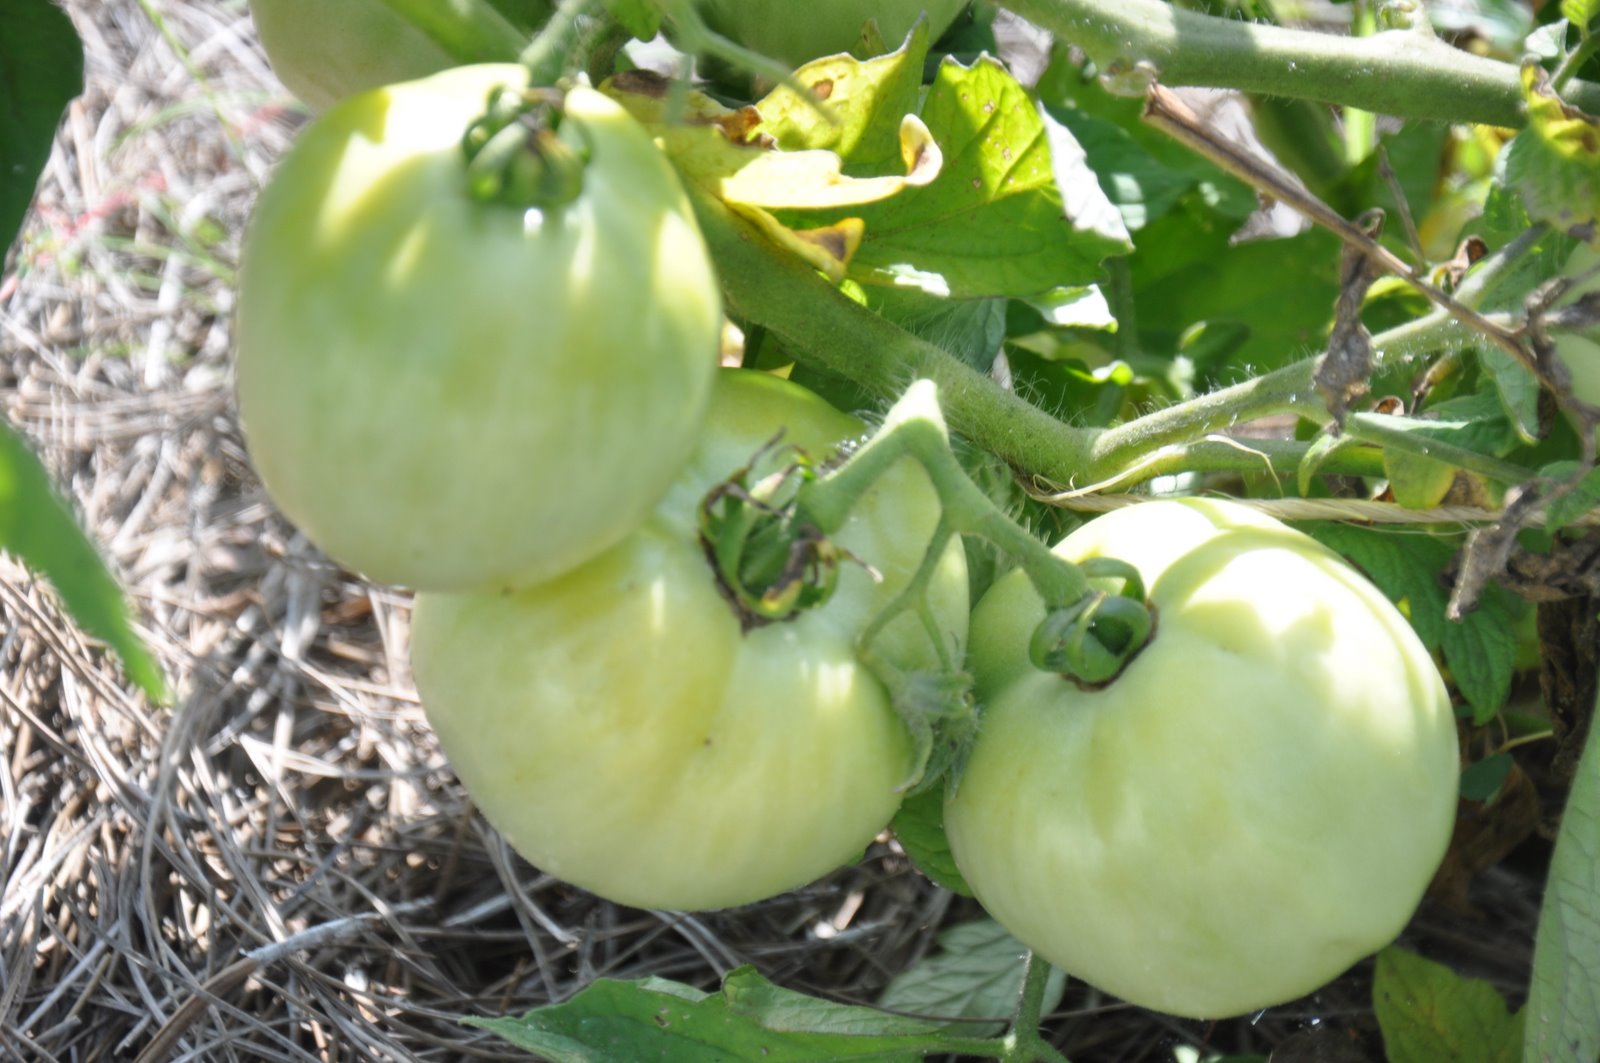
First of the ripe tomatoes! I remember the first home grown tomato I ever ate, a couple of years ago when I first started gardening, I called my Dad and said "It tastes NOTHING like the ones at the grocery store!" I couldn't believe how delicious they were.

Posted by Picasa

These guys are coming along. Big thanks to Peter for actually getting these guys in the ground. He has pretty much taken over the Cornais Family Farm and these are now "his" tomatoes. I love him for that!

Thursday, May 27, 2010

Oil Reaches Louisana Shores

Here's the article and pictures.

This makes my heart hurt. I have been putting my head in the sand all month regarding the oil spill. For some reason, now that I am mother, the wrongs of the world seem even more painful. Maybe I am just still hormonal and emotional. So to compensate, I have tried to create a little happy bubble for myself and not think of anything but the blessings in my life. But I forced myself to look at these pictures. Tallahassee has been my home for 10 years now and the Gulf has become a part of my roots. Penelope was born here and the Panhandle and Gulf are certainly a part of her story. I have to look. If I am not a part of the solution, I am a part of the problem.

To be honest, I am not even sure what to do about it. I firmly believe that the BP executives need to be held accountable with real prison time. In my opinion, they committed murder and need to be tried and convicted as if it were a street crime murder. But how does one go about making sure that happens?

The other thing that needs to be done, is reduce our consumption of oil. I already do a lot, much more than the average American, but there has got to be more that I can do. The first thing that comes to mind, maybe insignificant, but I want to stop using ziploc bags. I use them like they are going out of style, like candy. I use them for EVERYTHING. I told Peter the other day that I wanted to stop using them (and paper towels for that matter) and he said "Good God, woman, don't we do enough already??" No, we don't. Now that I can sew a bit better, I think am going to try and make these. And also start taking 5 extra seconds to use a glass container for food storage in the fridge.

Friday, May 21, 2010

Recycle, Reuse...Refashion!


This is cute top that I bought while I was living in Spain, my sophomore year of college. Its been a long time since it fit, but I can't bare to give it away. With my new post-partum mommy boobs, there is NO way it's ever going to fit again, so I decided to cut it up and give it a new life through Penelope. Peter said to me the other day, "man, you really like cutting stuff up now, huh?" Yup, I do. I am not sure what has come over me, but every spare second I have I am in the dinning room sewing or getting ready to sew!


First I cut off the sleeves. Then I turned it inside out and took in the sides a bit to make it more of an A-line dress shape.


Then I sewed on hot pink bias tape to finish the armholes and make the straps. Here is a good tutorial on how to use bias tape. And Ta Da! Super cute toddler sized dress. I was so proud of myself for this one, I came up with the idea all on my own. In fact, I thought I was kind of a genius for turning a woman's shirt into a toddler dress, but when I searched online I found numerous other women who have been doing this for a long time! Oh well, great minds think alike.

Posted by Picasa

And then I made her a little bow to match! I used a fabric button cover kit from JoAnn Fabrics. Here is the tutorial for that.