So you all know I have
attempted and failed to make a skirt for myself before. Having Bethany's expertise to guide me, was all that was needed. I don't know about you, but if I can get someone show me how to make something or cook something, I can pick it up immediately. But to read about it, I become confused and dyslexic and can't seem to follow directions.
We used this purple skirt that Bethany had already made as a template. Bethany and I are about the same height and weight, so it worked out pretty good. If you need to take your own measurements, just measure your waist, where you want the elastic to fall and find a length on your leg that feels good. Or just use a skirt that you already own.
I can't remember the measurements exactly, but I am pretty sure the waist was 30 inches and the length was 24. But don't quote me on that!
First measure your fabric.
Then cut it out. Bethany has this cool rotary cutter and a great table with a plastic measurement board that sits on top. Awesome. I will show you her huge sewing room next week.
Then flip your fabric to be right sides facing and pin up the side.
Sew up the side. If you have a serger, great. If not, you can do a zig-zag stitch, or a straight stitch and cut with pinking sheers.
Then measure, cut and pin your elastic.
Sew your elastic together. She did a zig zag stitch and went over it twice for reinforcement.
Then the craziness begins. So you have a tube of elastic and a tube of fabric.
You start pining your skirt at even intervals. So first you take the edge that is sewn together and lay the tube flat, so that sewn side is on one side, then you pin the far other side. And you pin the exact middle. Then you take the pinned middle and make that your far left side, and pin the far right and the middle again. You keep going till the skirt is pinned in even intervals all around. Does that make sense?
Same thing for the elastic.
Bethany also has a dress form, it comes in very handy. Adding that to my sewing wish list too.
Then where she skirt is pinned, she takes out that pin and pins it to the elastic. So instead of sewing a basting stitch and gathering the skirt, you are using the perfectly, evenly spaced pins to gather the skirt. It makes it lay nicer around your hips.
I used her ironing board to help me. This is an option if you don't have a dress form.
This is what it looks like when you have your skirt fabric pinned to your elastic, evenly spaced the entire way around.
See? It makes a little ruffle.
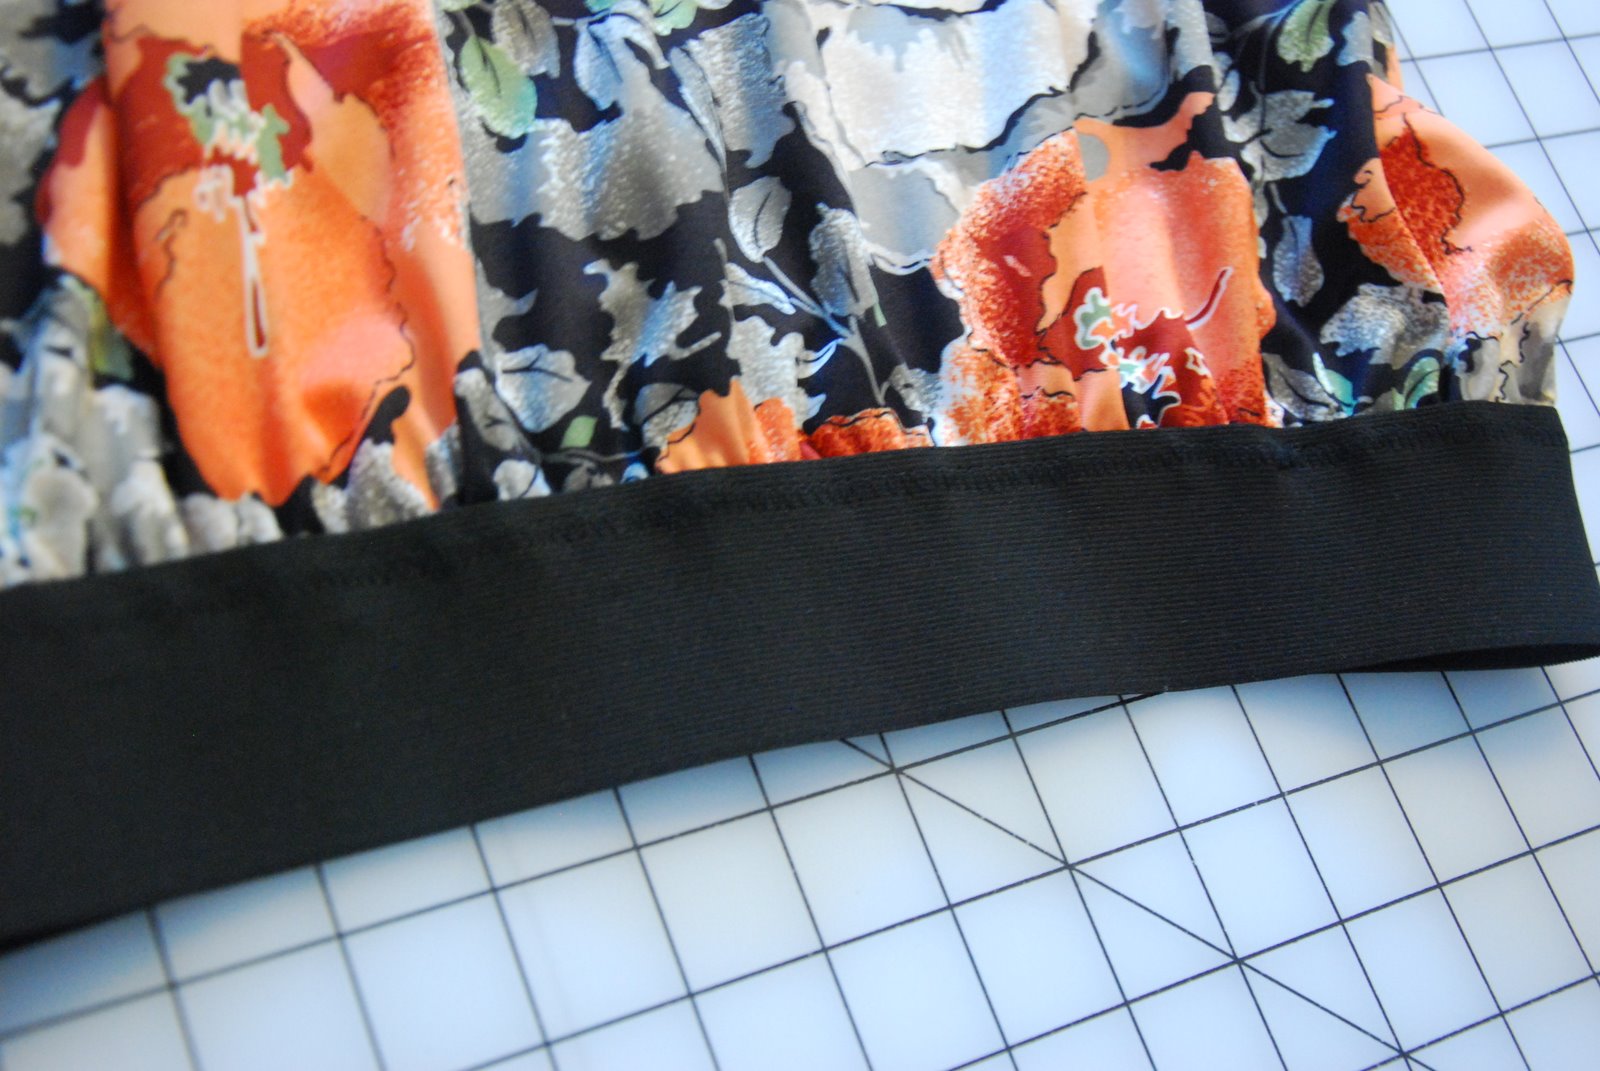
Then sew your elastic to your fabric.
Then fold over the bottom of your skirt to make your hem. You could do a normal hem, but to make it look more professional, you can do a blind hem. It is really hard to explain. But
this YouTube video does a pretty good job of explaining it.
This is what the edge looks like if you do a blind hem. You need a blind hem footer, but you probably have one and don't know it.
And ta da! A skirt for Mama! By the way, this fabric is vintage. It is Bethany's grandmother's, circa 1970. Bethany always makes me feel so cool. I could never pull off anything vintage without her!
You could do a mini version for your little girl too!
So what do you think? Did I explain it well? Do you think you can handle making it?
Pin It 


You do make it sound easy...
ReplyDeleteBut I ain't buying it! I feel like I'd stab myself and likely need so many Starbucks coffee's to keep me going I'd end up finishing it just to notice the coffee stain on the rear.
Brooke
www.TheAnnessaFamily.blogspot.com
So cute!!!
ReplyDelete